Learn Mihai’s symbol before opening the courtyard grave. This page covers the Night Terrors approach and the shared crypt section; the Albertus letter route has different earlier objectives.
Finding the writing trail in the Middens
The newer Albertus route starts north of Svartrau West: enter the wooden gate, turn left toward the courtyard’s red-cross marking, then inspect writing in the dark passage. Scan both walls and corners if the next clue is unclear. Look for a house extensively covered in writing, rather than stopping at the first marked wall. These approach landmarks are not firsthand verified; the source’s claim that every ambush must be fought is not established by its own payment alternative.
Letter route: respond to Albertus with charcoal
If your objective names Albertus, follow the writing highlighted by Focus through the Middens to his house. Ask what he is doing, then pick up the charcoal. Select the answers in this meaning order:
- The sorrowful Abelard — the sources spell the name differently.
- Svartrau’s plaza.
- Penance and redemption.
- Never having entered it.
- Mihai arriving in Vale Sangora as a warrior.
Finish the exchange and check the cathedral objective. This is the letter-route investigation, not an extra requirement after Night Terrors. Do not restart Anca’s convent quest merely because the newer overview presents one combined sequence.
Open the correct grave
- After Night Terrors and the well investigation, leave its cave by moving the highlighted stone. The courtyard graves cannot be identified until Coen learns the symbol.
- At night, use Shadowstep to reach the open rooftop tower and descend into the cathedral. Go up the left scaffolding; inspect the book and fresco at the last platform to identify the mark on Mihai’s armor.
- Return to the northern courtyard. Facing the cathedral, check the second grave from the right and inspect its symbol to open the entrance.
Still unable to identify the grave?
ATH lists the Annals, the thief’s note and murals as alternatives. PowerPyx explicitly says reading the Annals can leave the symbol unknown. If your objective still asks for the symbol, complete the scaffold inspection above; do not assume reading a book finished it. The chalice is another reported option on the treasury route.
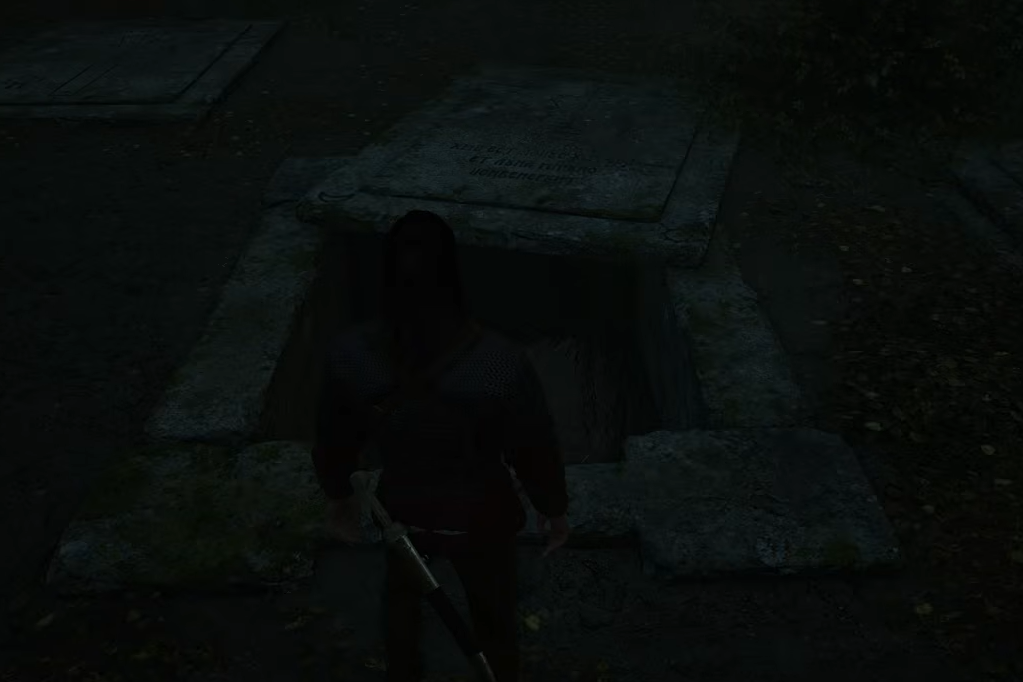
Descriptions of the courtyard’s compass direction differ. Confirm the symbol interaction instead of applying “second from the right” from any camera angle. The image below shows an already opened slab, not a map or proof of the correct approach.
Find the sealed wall
Enter the first door on the left inside the crypt. Use Focus Mode on the left wall where the sound comes from, then investigate the weak brickwork. Prepare healing before opening it: the encounter follows immediately.
Mihai: respond to the attack marker
| On-screen cue | Response | | --- | --- | | Skull / unblockable | Dodge; do not hold guard. | | Shield / blockable | Block or parry, then use a short counter. |
Avoid committing to a long combo between his attacks. The earlier fog-specific advice is not confirmed by the sources checked here.
After the fight: sword and trophy checks
- Finish the dialogue. The broken sword does not require one particular reply.
- Check for Broken Sword of St. Mihai; inspect the room for Broken Chains and Worn Sheath.
- Track Forge It Anew. Arbiter’s Blade requires reforging the sword, not merely winning this fight.
Arbiter’s Regalia concerns the armor set and is a separate objective.
Route distinction: PowerPyx records Night Terrors and the letter/A Dubious Gift approach as mutually exclusive. Do not treat missing Albertus objectives as a failure when following the well route.
Daytime cathedral: who should you question?
When the journal asks you to question people, check the rear pews for the Believer, the side-wall window work area for the Craftsman, and the altar podium for the Deacon. Ask the Deacon about the crypt, finish the available relevant conversations, then review the journal for the caretaker and library leads. These landmarks follow the published questioning guide and are not firsthand verified. If your current objective concerns frescoes instead, follow that branch; do not assume these conversations must reset it.
Cathedral library: locked garden door
This is Svartrau’s cathedral library, not Anca’s convent library. Use this section when your journal asks for cathedral-library access; the Night Terrors route above starts elsewhere.
- Reach the northeastern cathedral garden. Daytime entry is through the cathedral; after dark, use the rooftops.
- At night, reach the library roof with Shadowstep, descend to the lower platform, then move around the rear. Shadowstep onto the second-floor balcony and enter its door.
- A daytime alternative begins with the Deacon’s missing-caretaker request. Investigate the Almshouse upstairs, inspect floor scratches by the bookcase, enter the hidden passage and defeat the creature. Return to report to the Deacon.
Almshouse bookcase: inspect before pushing
Use the following entrance check before searching the upper floor; it separates reaching the building from opening the hidden route.
Find the entrance before searching upstairs
ATH's almshouse approach starts northeast of the cathedral, up the stone stairs past Nish. Continue through the metal gate and open the wooden door behind it. Entry should change the objective from travelling there to asking about the caretaker. Inside, look left for the Asylum Resident; his caretaker conversation supplies the abandoned-wing lead. Check that objective before moving upstairs. A completed conversation with the entrance nun is not the same lead; this account does not establish payment as the only possible branch.
For the A Dubious Gift route, go upstairs and through the south door into the small back room. Use Focus on the floor beside the bookcase, then inspect the scratches. Check for Push the bookcase before holding the displayed interaction; use your own binding and review its time cost.
Opening the passage advances the search into the abandoned wing, not straight to the Library Key reward. If still searching for clues, check the floor inspection and room first. ATH and PowerPyx both describe paying the downstairs resident for this investigation lead.
Beyond the bookcase: finish Radu’s investigation
- Descend and collect the Empty Bottle, then the Precious Brooch farther down.
- Defeat the Almshouse Monstrosity and loot Caretaker’s Key; it is not Library Key.
- Take the corner’s Blood Vial. Use the three collected objects for Compel Soul on the nearby body.
- Return to the cathedral’s Deacon and report Radu’s fate. Check library access and the completed investigation before leaving.
Library Key: search inside, not outside
From the balcony, descend to the ground floor and approach the garden-facing door. Look right for a book stand, take the Cathedral Complex Library Key and unlock the door. The Treasury Key belongs to a different lock.
When entry changes the objective to finding the chronicle, continue that investigation. Opening the door does not itself identify Mihai’s symbol; use the grave checks above if that objective remains.
Detailed city and companion routes
Optional stained-glass route
- With Caretaker’s Key, open the caretaker’s shed and collect Stained Glass Shards.
- Return to the cathedral Craftsman and check the repair dialogue and displayed fee. Inspect the restored clue for Mihai’s symbol.
- Report Radu’s fate to the Deacon for library access. Method explicitly skips glass repair after identifying the symbol on the treasury chalice, so repair is not a universal Library Key prerequisite.
Keep symbol recognition and learning the burial location as separate checks. If the grave still cannot be identified, return to the unfinished investigation rather than paying for a duplicate clue.