For the optional Bittersweet Toast objective, follow the Pale Ravager trail and loot its body. For a general ingredient hunt, the Great Bog Wurm at Tatzelwurm's Lair is a separately reported source. Do not confuse that encounter with the quest's lizard hunt.
Choose your route: these are separate encounters
Following the optional Bittersweet Toast objective? Start with the ritual scroll and lizard note, follow the northeast slime trail through the rock gap, then defeat the Pale Ravager. Use the quest trail below and its three reference images.
Looking for a general crafting ingredient? Skip to the Tatzelwurm's Lair checks for the separately reported Great Bog Wurm encounter. This route does not establish a guaranteed drop or a substitute for the quest objective.
Follow the quest trail to the Pale Ravager
- Find the ritual scroll, then inspect the additional pages beyond it. The lizard note reveals the optional gland objective.
- Follow the slime northeast to a narrow rock opening. Squeeze through to reach the Pale Ravager's cavern.
- Defeat it and search the corpse. Check the gland in inventory before returning to Iulian; read the time-cost prompt when collecting it.
Resume the Bittersweet Toast walkthrough for the mixture and ritual. Finding an ingredient does not finish those stages.
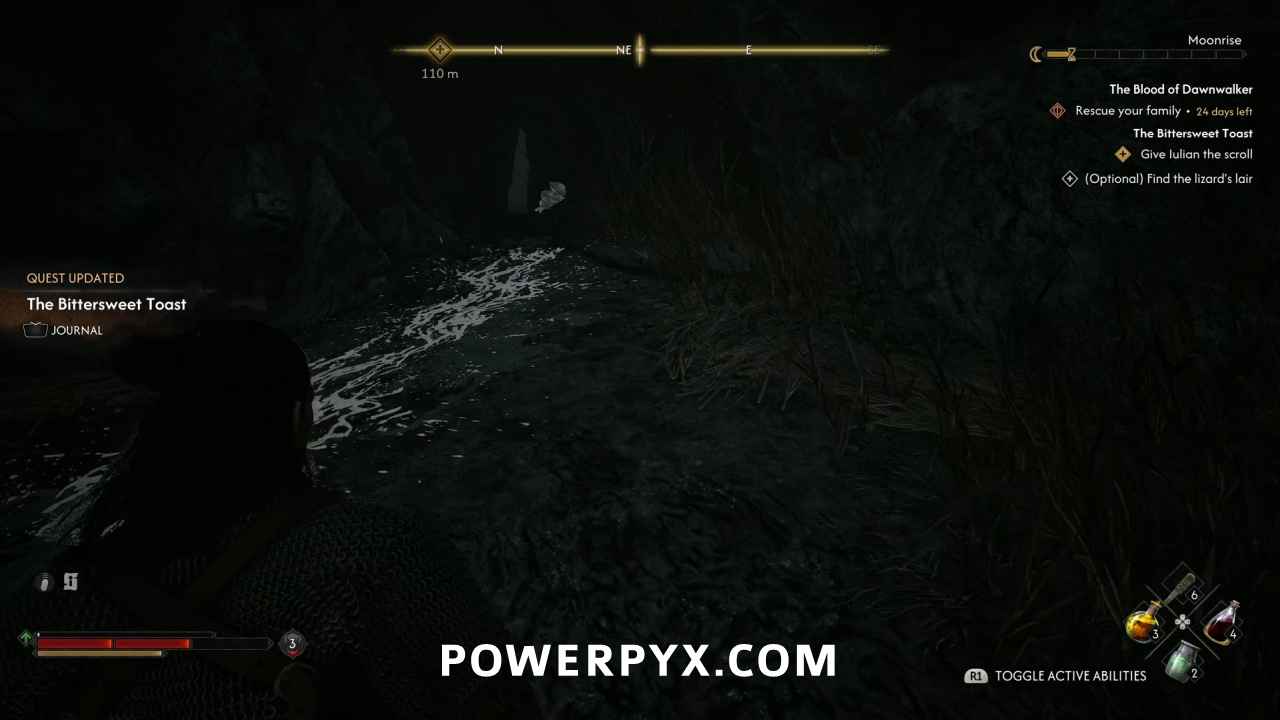
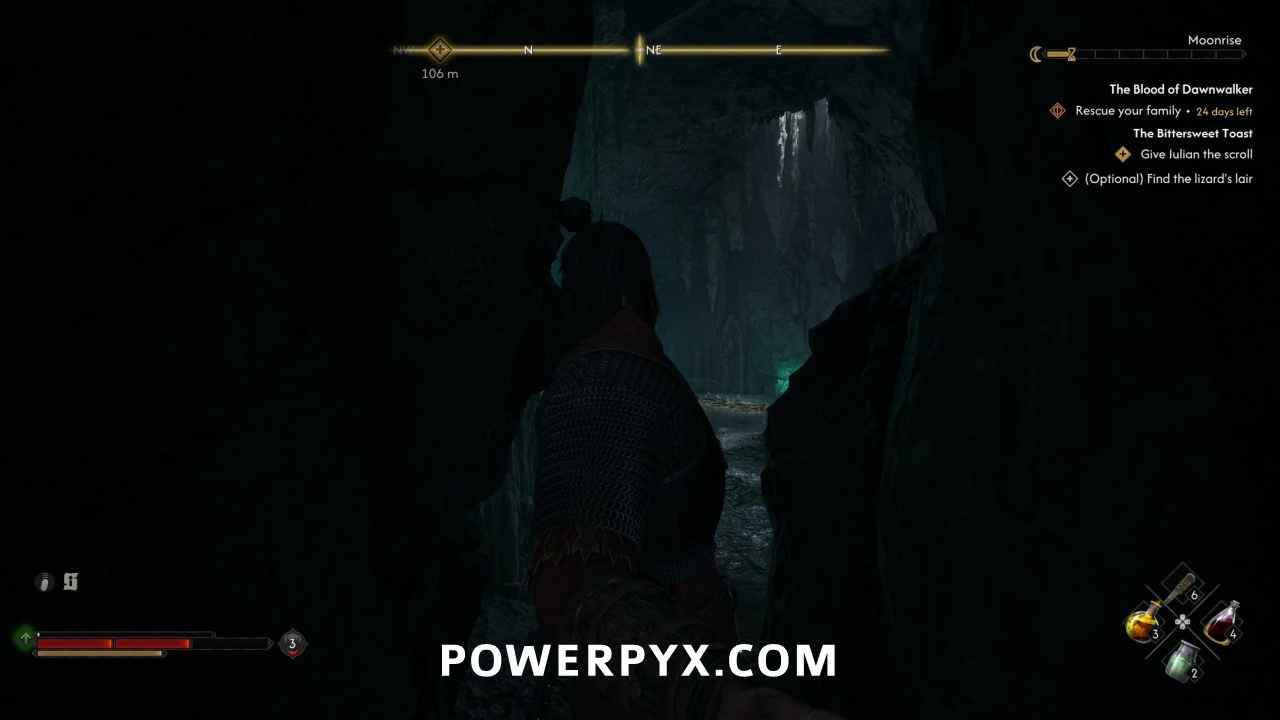
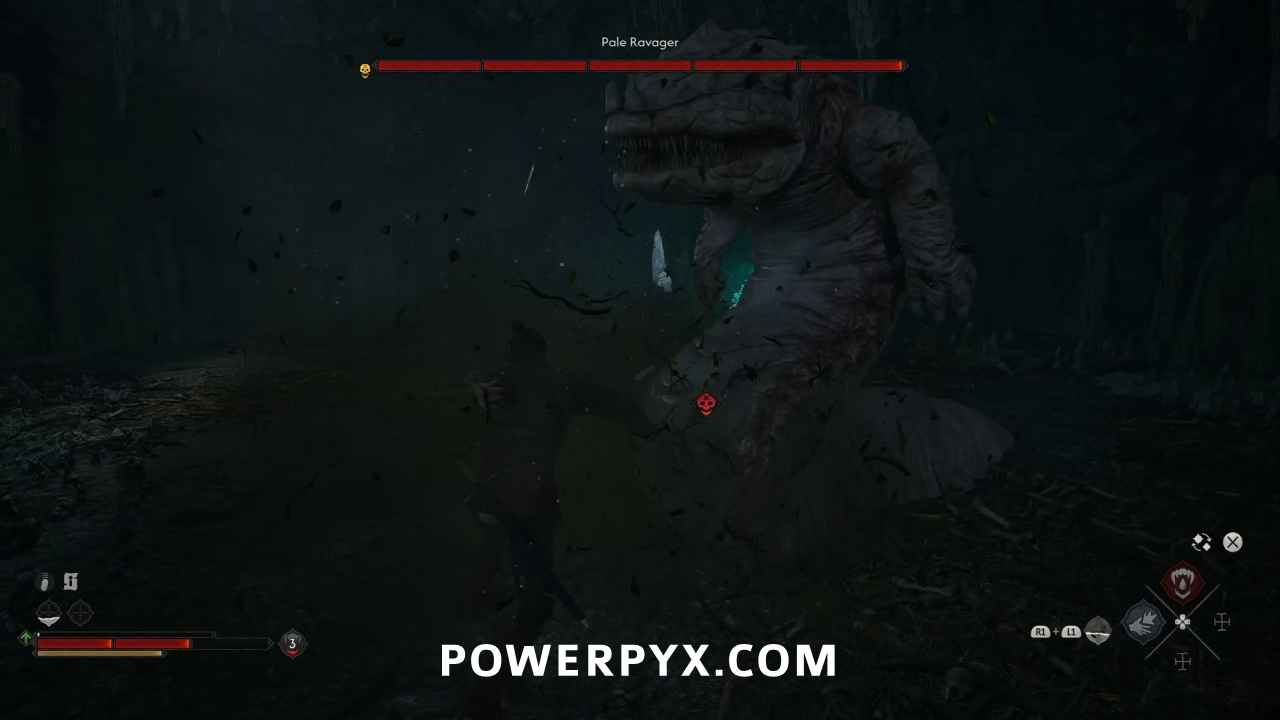
Looking for an ingredient outside that quest?
The ingredient account points across the river northwest of Rock-Hollow. The boss account places the lair south of Mert's Mill and Muddy Trail. These landmarks have not been reconciled on one verified map, so do not join them into a single walking route.
- On your map, inspect the Tatzelwurm's Lair marker and its warning, “A deadly beast lives here.” Match the name before travelling.
- Follow that marker through the flooded woodland toward the riverbank. Both accounts describe a shallow-water approach. The Pale Ravager rock-gap images above belong to the quest route.
- When the encounter begins, check that the health bar names Great Bog Wurm. Use the combat checks below if its attacks stop your progress.
- After the fight, use the corpse's loot prompt, select Tatzelwurm Gland if present, and check your inventory before leaving. A glossary notification only confirms the encounter; it does not collect the ingredient.
This is a source-reported encounter. A precise approach map, the relationship between the two landmark descriptions, and repeatable drops remain unconfirmed here.
No gland in your inventory?
Check whether you searched the corpse or only defeated the enemy. The community item database lists several loot sources and a non-guaranteed Tatzelwurm drop; these listings do not establish a universal farming route. Merchant stock and whether a purchased gland substitutes for the quest objective remain unconfirmed here. If your journal still asks for the quest creature, follow that objective rather than assuming a different ingredient source has completed it.
Troubleshoot against your journal
- No optional gland objective? Check the additional pages and lizard note beyond the ritual scroll before leaving the clue area.
- Enemy found, journal differs? Distinguish Pale Ravager from Great Bog Wurm and follow the encounter named by your objective.
- Enemy dead, inventory empty? Open the corpse loot and verify collection. An absent item does not establish a guaranteed respawn farm.
- Ingredient acquired, quest unfinished? Resume the mixture and ritual steps in Bittersweet Toast. Acquisition alone does not finish the quest.
Great Bog Wurm: respond to the attack, then loot
ATH’s boss account describes the following responses. These are published tactics, not timing tested by this site:
- Ordinary swings repeatedly blocked? Stop the attack chain; defend against a blockable strike, then counter during recovery.
- Unblockable body slam? Dodge out of the impact area instead of holding guard.
- Burrowing movement? Re-establish spacing and wait for resurfacing instead of chasing.
After victory, return to the corpse and verify the gland in its loot, then in your inventory.
Continue: The Hedgehog Herb: grow the plant and brew the elixir
For the crafting use, continue with The Hedgehog Herb. If you are following Iulian's optional objective, return to Bittersweet Toast instead.