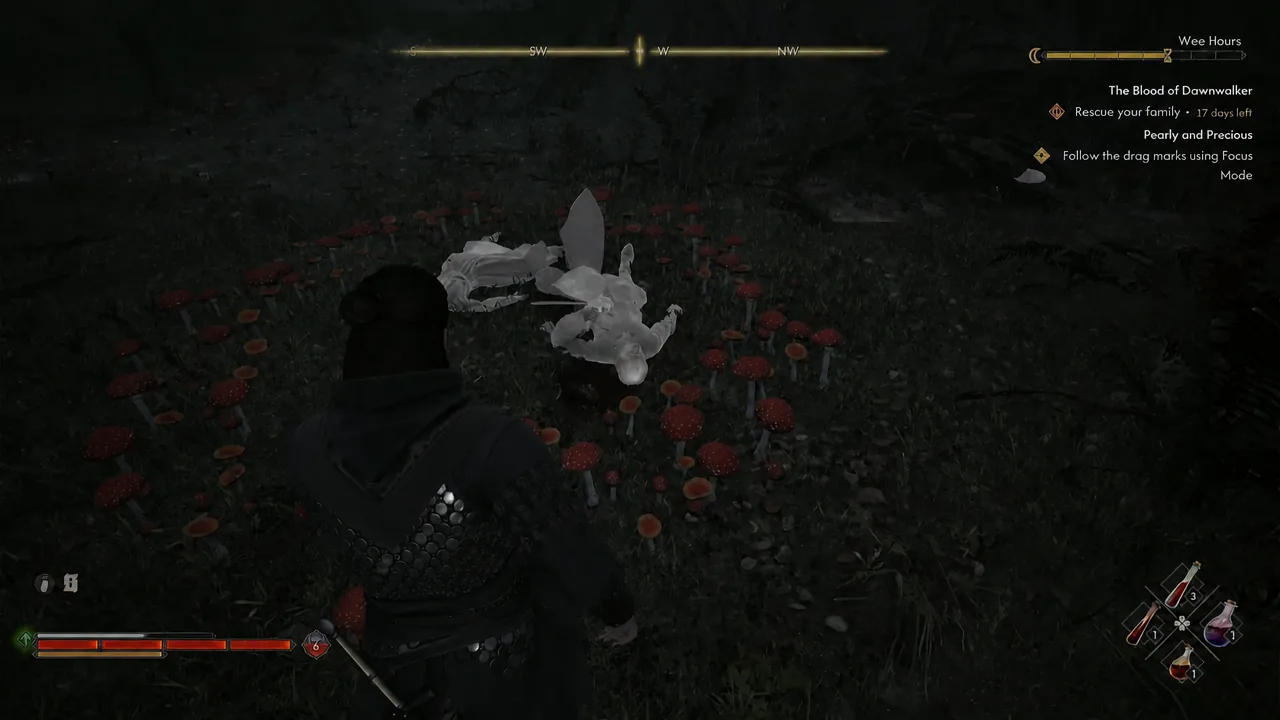
Start at the abandoned camp directly south of Small Bridge Shrine. Use Focus to follow the drag marks to the Sanzhana in a mushroom ring. After speaking, follow the bandits' footprints, defeat them and return to the burrow to unlock the teeth trader. If you lose the next step, check whether your journal still asks for investigation, tracking or the final report.
Which trail should you follow now?
- At the camp: investigate with Focus, then follow the drag marks into the woods.
- At the mushroom circle: finish the Sanzhana conversation before looking for the next trail.
- Looking for the bandits: switch to footprints heading south or southwest; do not retrace the drag marks to the camp.
- Bandits defeated: return and report to the Sanzhana. Check that trading is available before leaving.
No quest marker? Check the letters first
- Check Good Home and the first letter to Lunka. PowerPyx lists Good Home as a prerequisite; PC Gamer explains that sending a letter after helping a Sanzhana reveals the next related map quest.
- Return to the main burrow to send your next letter when available. The order depends on the letters you send, so Pearly and Precious may not appear in the order shown by another walkthrough.
Gamer Guides also records starting the quest by approaching the abandoned camp. If the quest is already active, continue with the route below. Both route references list one time segment for the quest; check the in-game cost prompt before committing.
Locate the camp south of the bridge
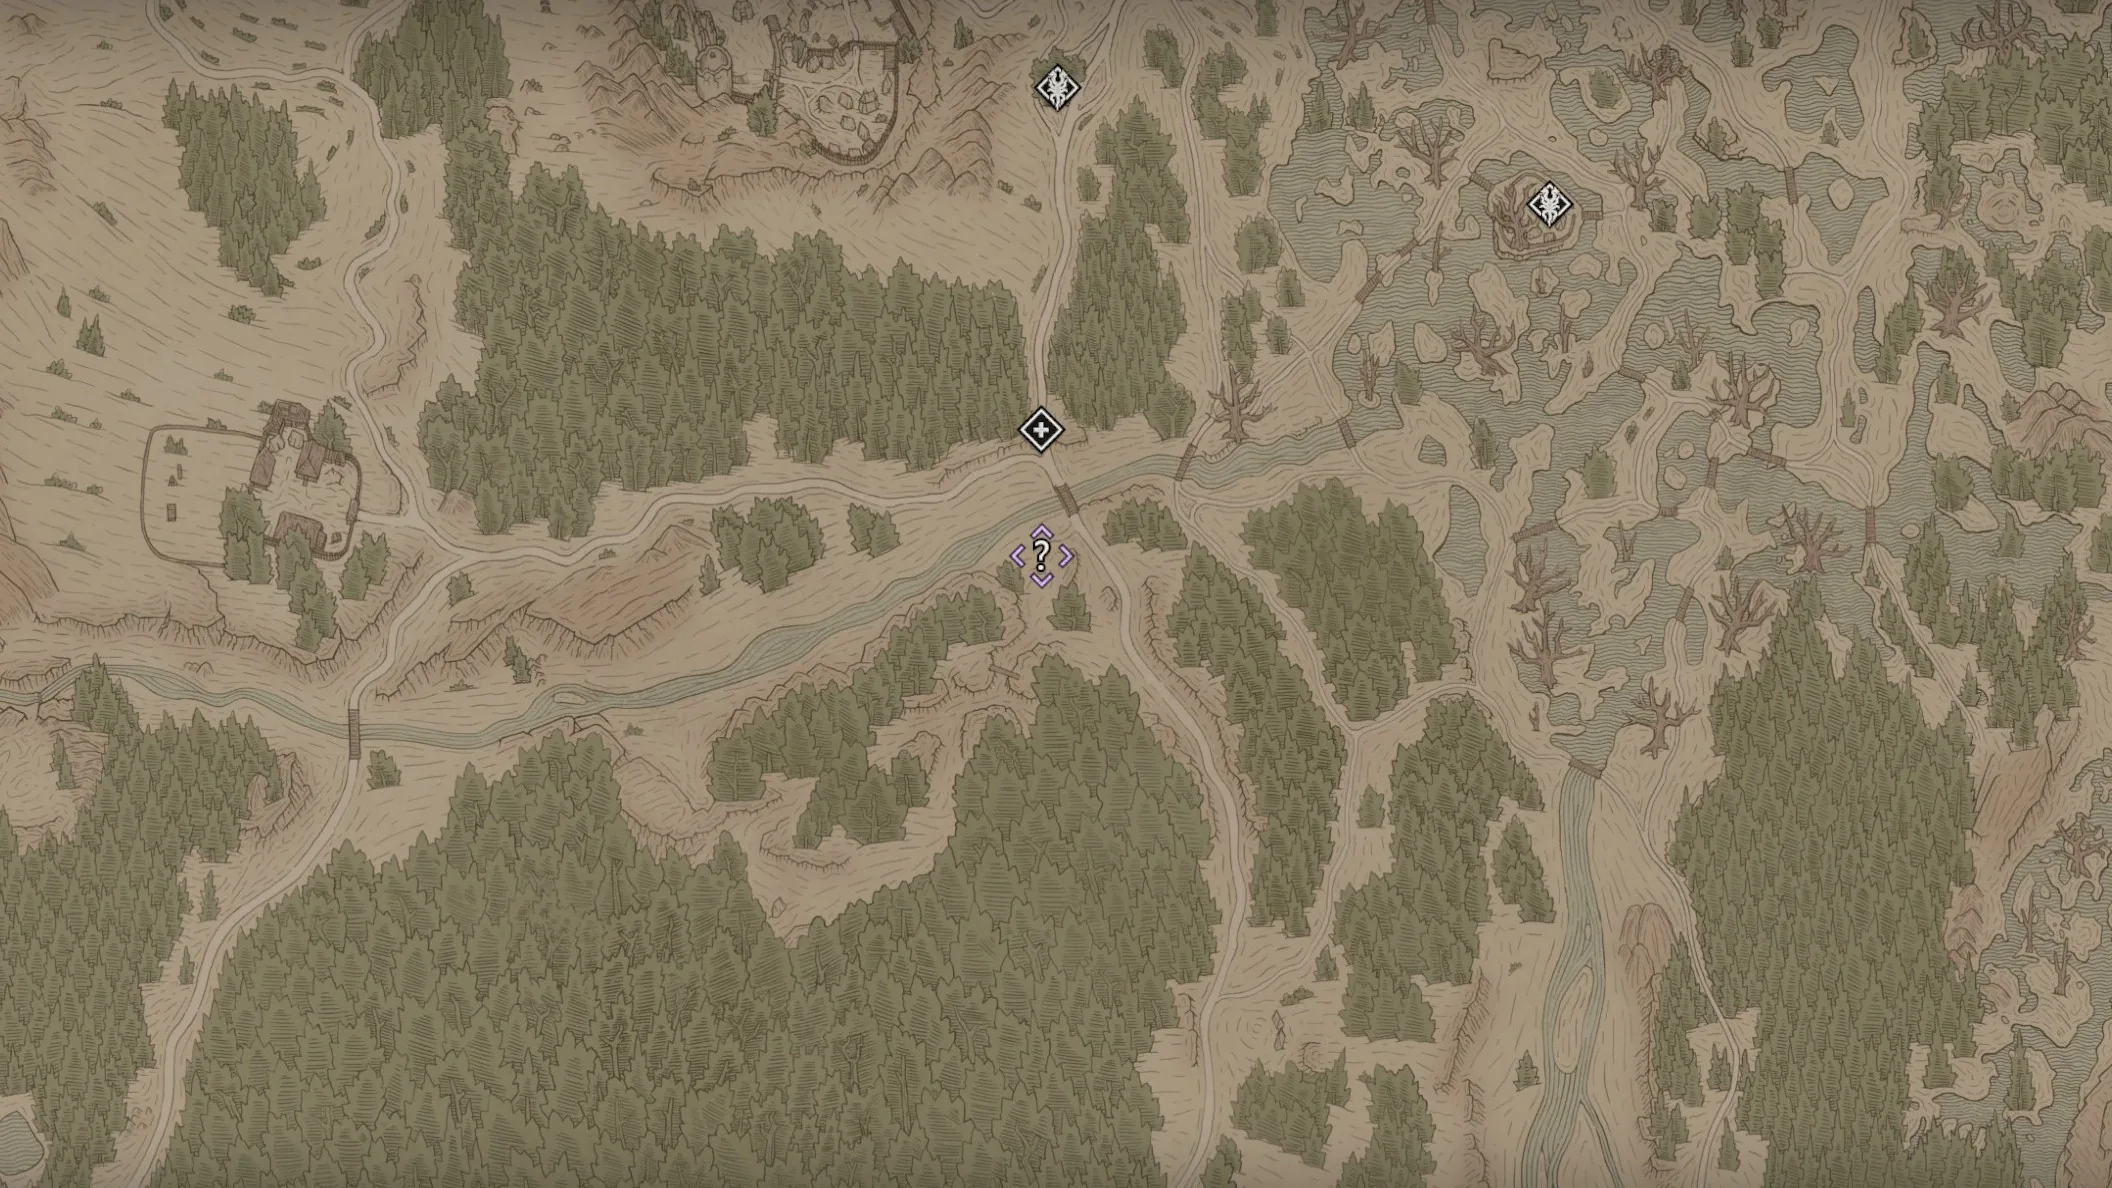
Quest start location: the abandoned camp directly south of Small Bridge Shrine. Begin investigating here before following the trail to the mushroom circle.
- Find the river and small bridge on the map, then compare the purple question mark on the south bank in the image below. Head south from Small Bridge Shrine to the ruined camp. On the wider map, this is northern Boar's Back, northeast of Parlita and south of Stoneward Post.
| Your destination | How to reach it |
|---|---|
| Quest starting area | Ruined camp south of the shrine; use the map below |
| Sanzhana and two bodies | Follow the camp's drag marks into the woods to the mushroom ring |
| Bandits after the conversation | Follow new footprints south or southwest; the starting map is not a footprint route |
No quest marker? Check the letters above. Already at the camp? Continue with the Focus investigation below.
- Activate Focus inside the camp and look for drag marks continuing south into the trees. Identify where the trail leaves the camp before following it.
Follow the drag marks, then switch to footprints
- Reach the mushroom ring with the Sanzhana and two bodies. Finish the conversation there.
- Scan the nearby ground again with Focus. Now follow the footprints heading south or southwest.
- Speak to the bandits and defeat them. Check the journal's return objective after the fight.
This is a route from the camp. If you encountered the bandits first, follow the investigation or tracking objective currently shown in your journal; completed steps do not need to be repeated just to match this order.
Report back and check that trading opens
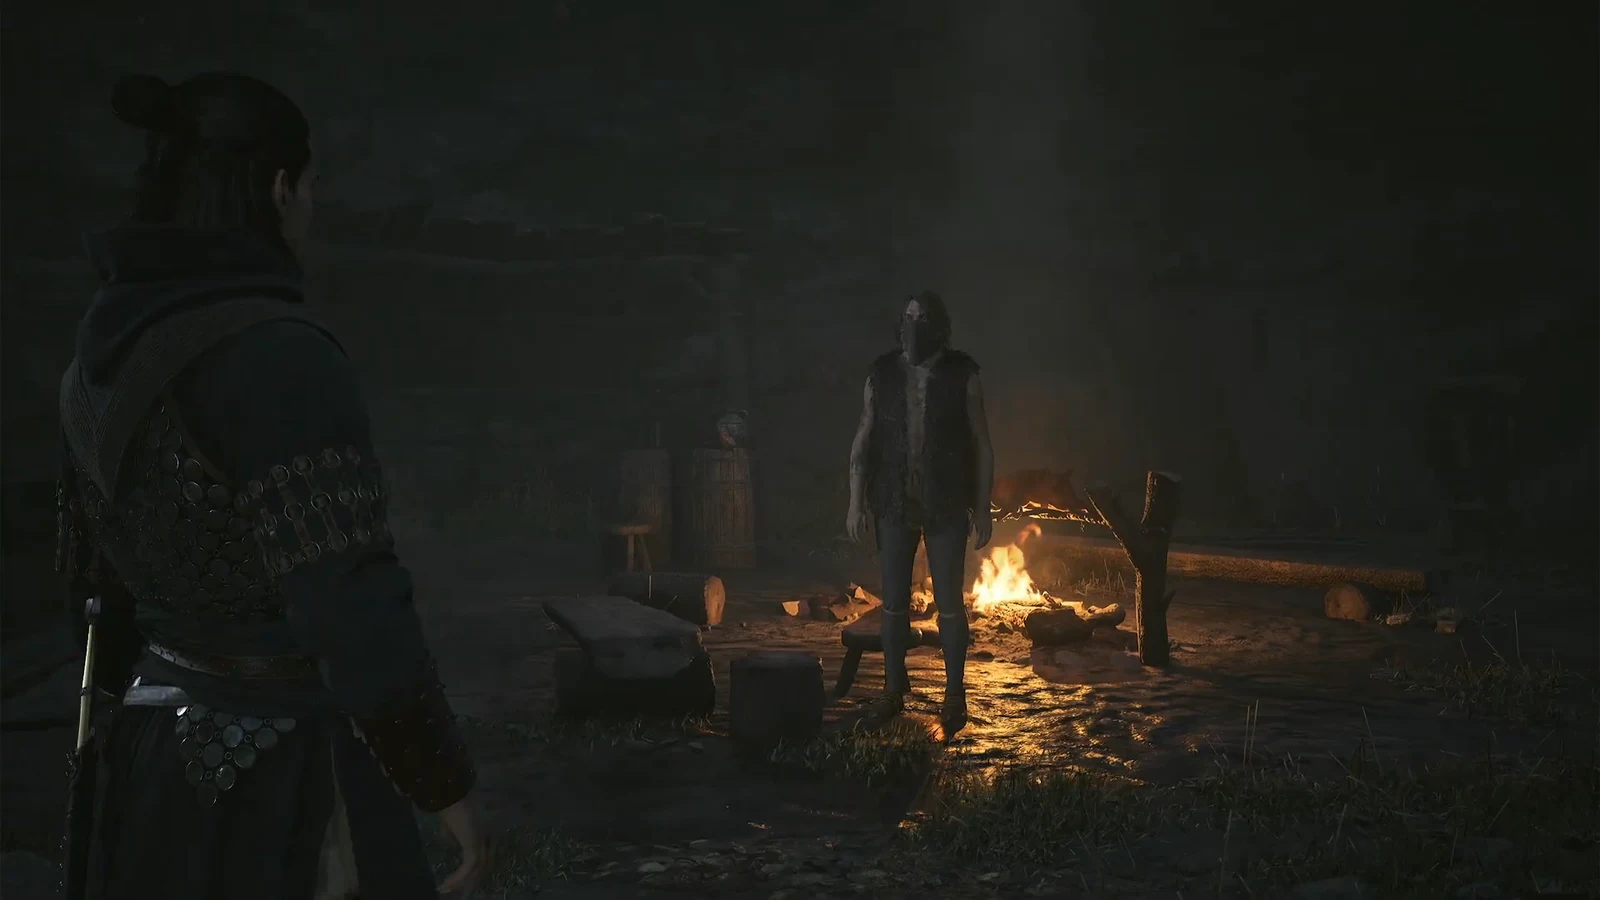
- Return to this Sanzhana's burrow, report that the bandits are dealt with and finish the conversation.
- Open the trade screen and check that Pearly and Precious is complete in the journal before moving on.
The trader buys teeth and sells Silk Threads for a later quest. If the trader is missing from the original spot on a later visit, look in Yawning Burrow. The exact relocation timing remains unconfirmed; do not assume that skipping every purchase is a required trigger. You can finish the report without first farming teeth.
Focus controls and lost-trail checks
On default PC controls, press Y to sheathe your weapon, then hold right mouse for Focus. Controller Focus uses LT/L2. If you remapped controls, check Controls first; the PC draw and sheathe guide covers the relevant inputs.
| Where you are stuck | Return to | Next action | Completion check |
|---|---|---|---|
| You cannot find the drag marks | The abandoned camp south of Small Bridge Shrine | Sheathe your weapon, activate Focus and find where the trail leaves the camp toward the trees. | Follow that trail to the mushroom ring and two bodies. |
| You reached the bodies but cannot find the bandits | The mushroom ring | Finish the Sanzhana conversation, then use Focus to find the new footprints heading south or southwest. Do not follow the old drag trail backward. | Reach the bandit conversation. |
| The bandits are defeated but trading is unavailable | This Sanzhana's burrow | Read the journal, report the completed fight and finish the conversation. | The quest is complete and the trade screen opens. |
| You unlocked the trader but cannot find them on a later visit | Yawning Burrow | Check this later location before repeating the quest. The exact relocation timing remains unconfirmed. | Identify the trader and open trading; do not assume a purchase is a required relocation trigger. |
If your journal describes a different stage, preserve your save and follow its remaining objective. This table helps resume the documented route; it is not evidence of a bug or a reason to restart completed steps.
After the hand-in
Continue the letter chain with Letters to Lunka, or use the Silk Threads route for the trader’s material. If you have not yet found the earlier missing companions, follow Good Home.