To open the Chief Jailor’s cabin, take the Brass Key from the barn table and follow the footprints to the opposite building. Sparing him can reveal the stash without a fight; killing him lets you loot the map. Your current objective determines whether the ledger or buried treasure finishes the activity.
Reach the outpost and inspect the evidence
- Find the palisaded camp in Briar Sloughs, north of Borescu Commons Shrine. Gamer Guides also places it north of Boar’s Back forest. Enter through the gate and defeat the guards before investigating.
- Use Focus and interact with the wagons, corpse pit to the gate’s right, nearby Torn Banner, hay against buildings and torture instrument in the shack opposite the gate. Looking at highlights is not the same as completing an interaction. Recheck these spots if the investigation remains active.
Find the Brass Key and follow the footprints
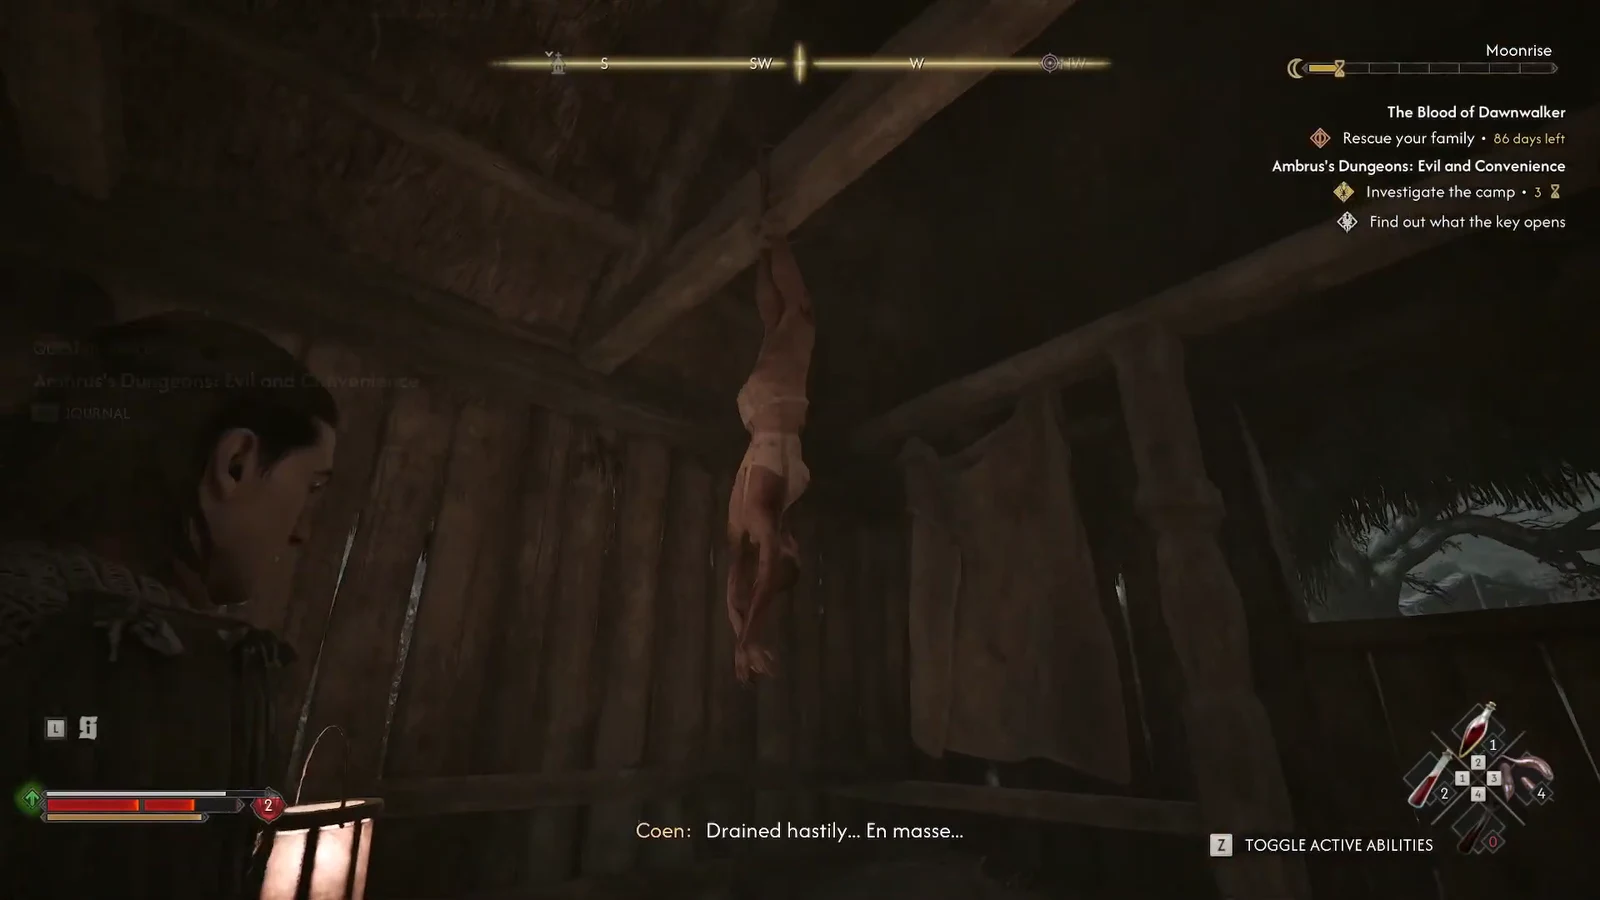
- Enter the barn left of the gate. Check its hanging bodies and the table holding Reprimand from Ambrus and the Brass Key. Take the key, then follow Focus footprints to the building across the camp.
- Climb the steps and unlock its door. Speak with the Chief Jailor before choosing the outcome below. His desk also holds the Ledger.
Choose the jailor outcome
- Demand payment for freedom: avoids combat and reveals the treasure location. This information can be sufficient; do not require a physical map in your inventory.
- Refuse to let him leave: starts a duel. He can throw projectiles at range; after defeating him, loot the map from his body.
- Give in to hunger: kills him through feeding and adds Corruption. Loot the body for the map; this does not award the duel’s combat experience.
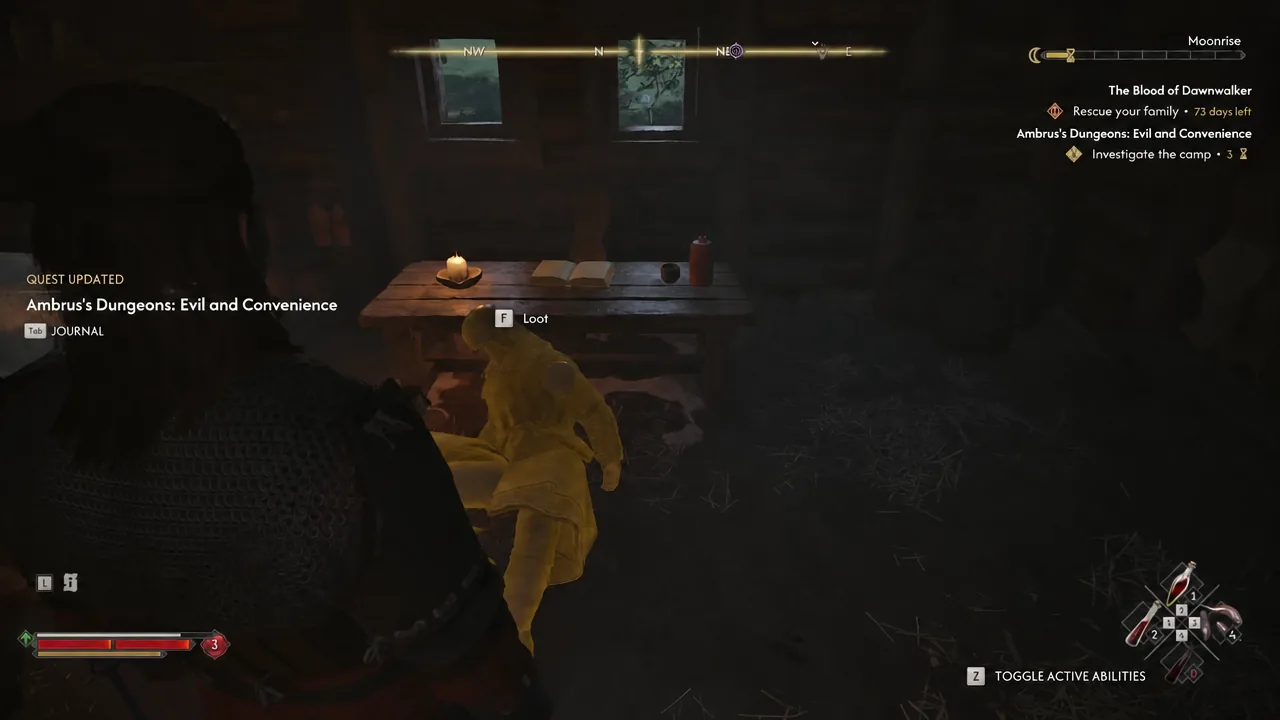
The extra equipment on his body is described as random by Gamer Guides. A named amulet shown in another account should not be promised as a guaranteed drop.
Finish at the ledger or fallen tree
- Without the treasure lead, take the Ledger from the cabin desk to finish. If your objective instead asks for the fallen tree, track that objective and leave through the palisade gate.
- Turn left outside, follow the wall and find the fallen tree to the northwest. Dig up the nearby stash and collect its contents. Completing through the Ledger first does not remove the buried treasure.
ATH and Gamer Guides agree on 250 XP, one skill point and three time segments. Check the journal for completion before moving to another Court activity. For the later confrontation, see The Gilded Gauntlet.
Continue: Judge and Executioner: keys, Branko and the logging camp
Judge and Executioner: keys, Branko and the logging camp
Continue: Twists and Turns: cellar route, jailer key and prisoners
Twists and Turns: cellar route, jailer key and prisoners
Two documents, two places
The cabin desk holds the Ledger. ATH lists Letter from Bakir in the fallen-tree chest; check that container and read the letter if present. Do not search the desk for both. Follow the current objective to distinguish ledger completion from the treasure branch.
ATH describes a daytime soul interaction in the torture chamber as additional context. It is not established here as mandatory for every cabin-entry route. Its claim that every jailor choice supplies a physical map also conflicts with the information-only account above; missing paper alone does not prove a failed choice.