Get the Keeper’s Keys from the defeated guards, investigate the prisoners’ records and decide whether to release Branko. If you free at least one prisoner, follow the next-day logging-camp objective before expecting the quest reward. The sources disagree about the extra accessory, so no specific ring is guaranteed here.
Clear the fort and recover the key
- Approach the ruined outpost near St. Tyna’s Grove, east of Svartrau City. Defeat the entrance and courtyard guards, then speak to the prisoners through the iron gate.
- Search the fallen guards near the campfire for Keeper’s Keys. Return with the keys rather than repeatedly trying the locked gate. If the freeing objective has not appeared, check for remaining guards and read the current journal step.
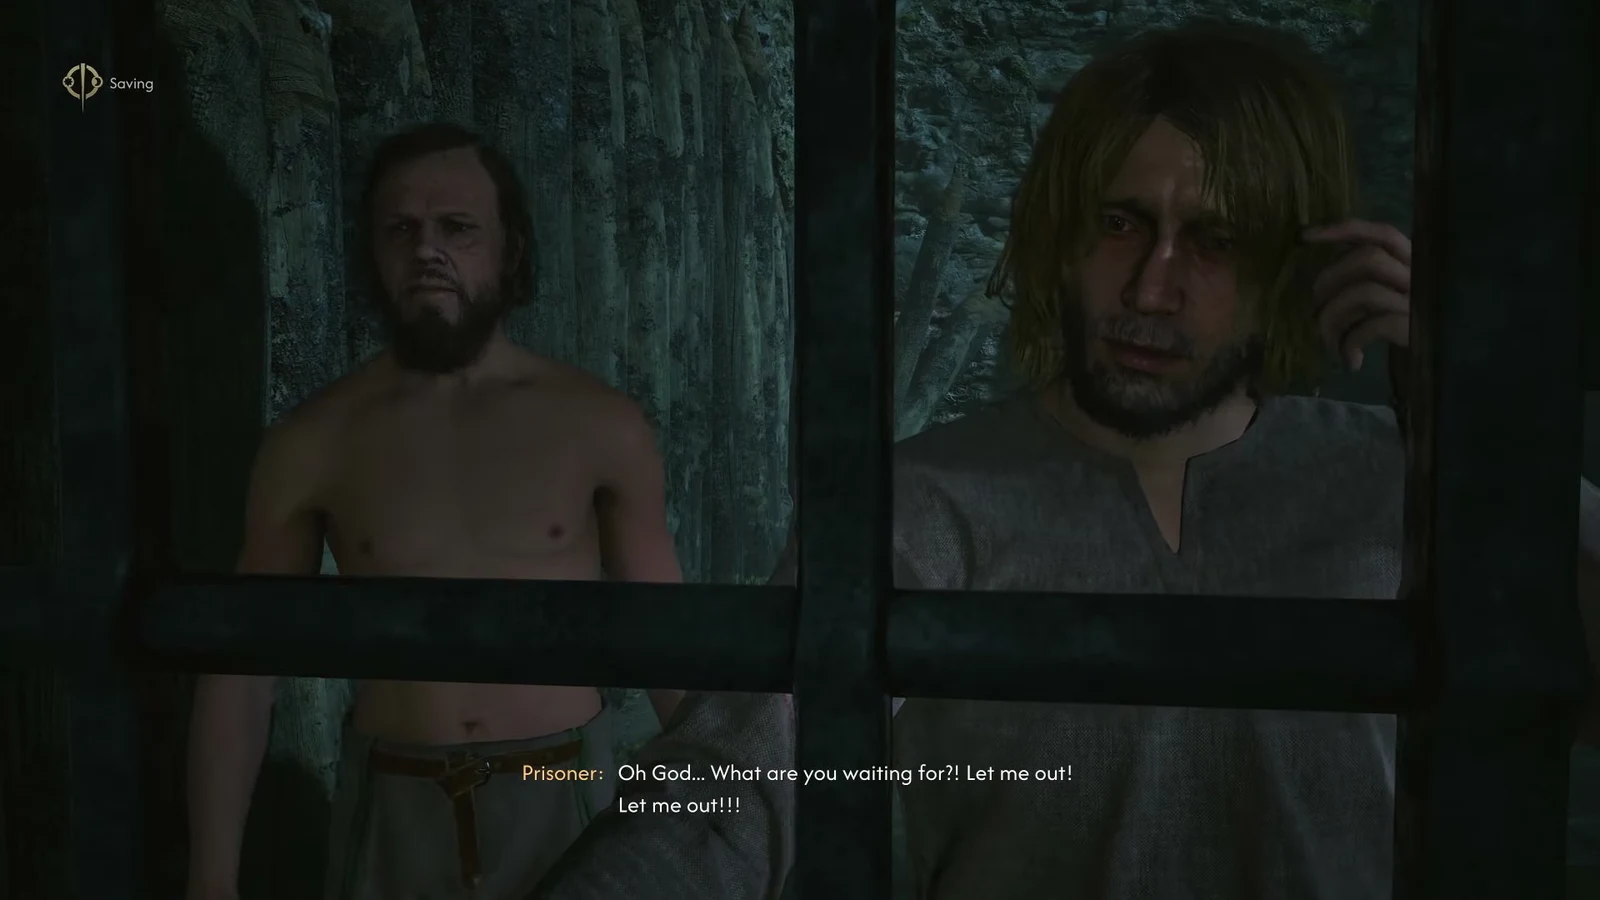
Read evidence before deciding
- Search the tent for the prisoner ledger. ATH also describes interrogation records on a western table; their exact placement is not independently confirmed here. Read the documents before treating either prisoner’s accusation as established.
- Return to the cell. You can postpone judgement to investigate rather than immediately releasing both men. The records described by the sources single out Branko’s cooperation and exemption from torture.
Compare the prisoner branches
Show consequences for Branko and the woodcutters
Freeing both prisoners and leaving Branko imprisoned each lead to a later camp visit. However, Gamer Guides reports murdered woodcutters after freeing Branko, while keeping him locked up leaves a reward instead. This contradicts ATH’s broad statement that the choices do not affect rewards.
A hunger response kills the prisoners and ends the quest immediately in Gamer Guides. It is not a shortcut that preserves their survival. Choose based on the consequence you want, not the assumption that every dialogue leads to the same scene.
Return after the waiting objective
-
Let the journal’s day-long wait resolve, then track the woodcutters’ camp. Gamer Guides places it near Rocky Glade, west of Svartrau City, and warns of stronger guards. Check enemy indicators before committing; the early outpost does not establish the follow-up’s difficulty.
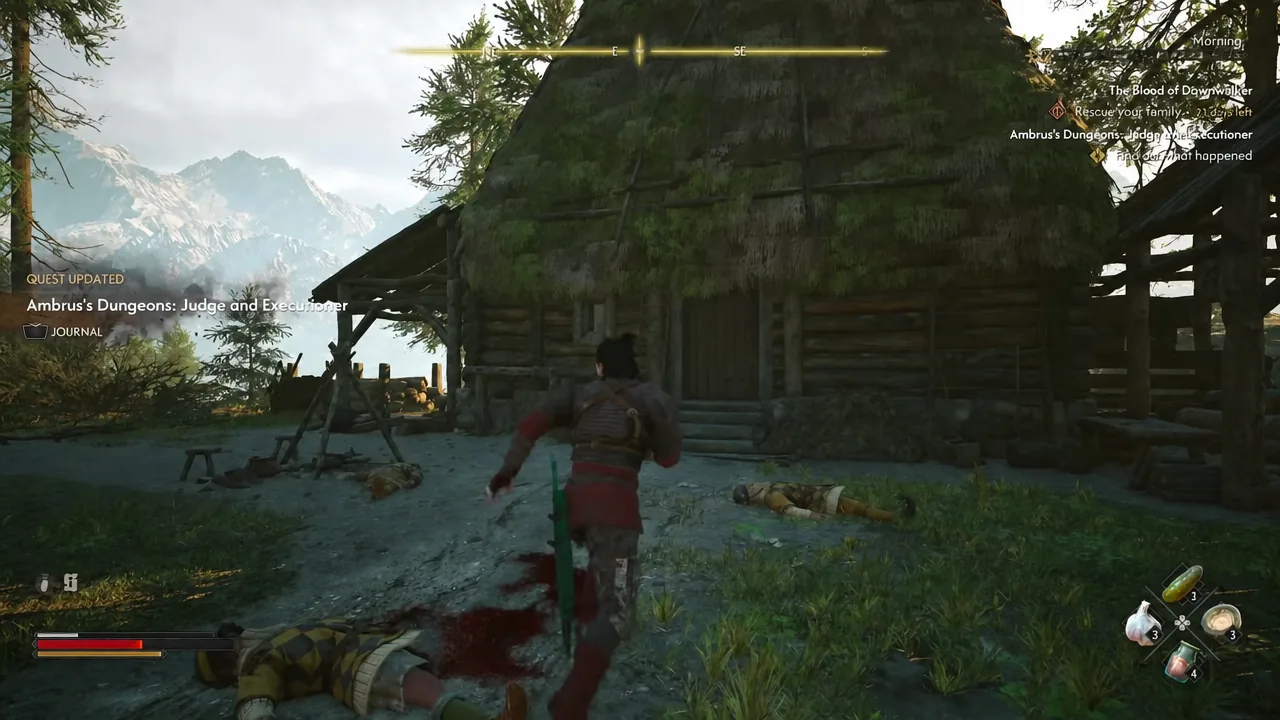
The camp hut with the investigation objective active; the reward container is not visible. · All Things How / Rebel Wolves -
Clear the guards and read the prison-break report. Inside, investigate the bodies if present; otherwise inspect and empty the reward container. Follow the objective that matches your earlier choice.
ATH describes a chest and Beastmaster’s Ring; Gamer Guides describes a sack and Duelist’s Pendant. Container and accessory details remain unconfirmed. Check the actual loot list instead of searching indefinitely for the other source’s item.
The activity lists three time segments, with a separate wait before the follow-up. Court-menu completion can precede the final journal reward. Continue with Evil and Convenience or review Ambrus’s Court activities.