Finish Smoke and Ashes and complete Ambrus's Court Activities until he is Angered and issues a challenge. Inspect southern Maragir, decide on The Bittersweet Toast, then ring the duel bell at night. Distinguish the poison deadline from the duel itself.
Challenge and optional plan
- Check Court progression. Infamy or general Notoriety alone is not the trigger.
- In southern Maragir, find the scene with a victim on a cross and inspect the message at its foot. After reading Ambrus's challenge, speak to the woman who approaches. For the optional poison plan, accept her invitation to meet Iulian Codrin at his hunting lodge before duelling.
- Follow The Bittersweet Toast. His survival depends on the brew and dialogue, not simply accepting the plan.
The marker is close, but the arena is above you
If the distance shrinks while you remain below a cliff, approach the peak from the monastery-facing western slope. The published arrival route places the ruins east of St. Clement’s Monastery; this approach has not been checked firsthand. Follow the walking trail upward, then check that the objective changes from arriving to summoning Ambrus. Inside the arena, locate the bell’s wooden frame and use the displayed interaction at night; proximity to the map marker alone does not start the encounter.
Bell and deadline
- Follow the duel objective to the ruined castle above Maragir. Ring the bell at night; it spends two time segments. Arriving at the castle does not spend those segments or summon Ambrus by itself.
- After the ritual, the documented poison window is three days. Reserve the bell's two segments and check the optional journal objective.
- Missing that window changes the poison setup; it does not permanently fail the duel. Daytime availability is a separate restriction.
Before the fight
To have Ambrus drink without Coen drinking first, choose “I don’t trust anything you offer”. Joining the toast poisons Coen too. The refusal-of-human-blood branch kills Iulian and changes the poison effect. Save before choosing.
Read the attack
- Keep lock-on. Dodge backwards from the spinning teleport overhead slash; dodge sideways from the straight teleport uppercut.
- Retreat through the advancing sequence of sweeping sword attacks instead of punishing the first swing.
- Use Perfect Block into a riposte against ordinary attacks, then reassess. A follow-up claw art requires suitable equipment.
In-fight quick reference
| What you see | What to do now | When to attack again |
|---|---|---|
| Grey health bar with the shield diamond | Stop attacking and defend; further hits heal him | After the shield ends, read the next attack |
| Spinning wind-up followed by a teleport overhead slash | Dodge backwards | After landing, check for a follow-up |
| Forward lean followed by a teleport rising slash | Dodge sideways off its line | Take a short recovery opening, not the old position |
| Red glow and repeated teleports | Defend instead of chasing each afterimage | When ordinary attack patterns return |
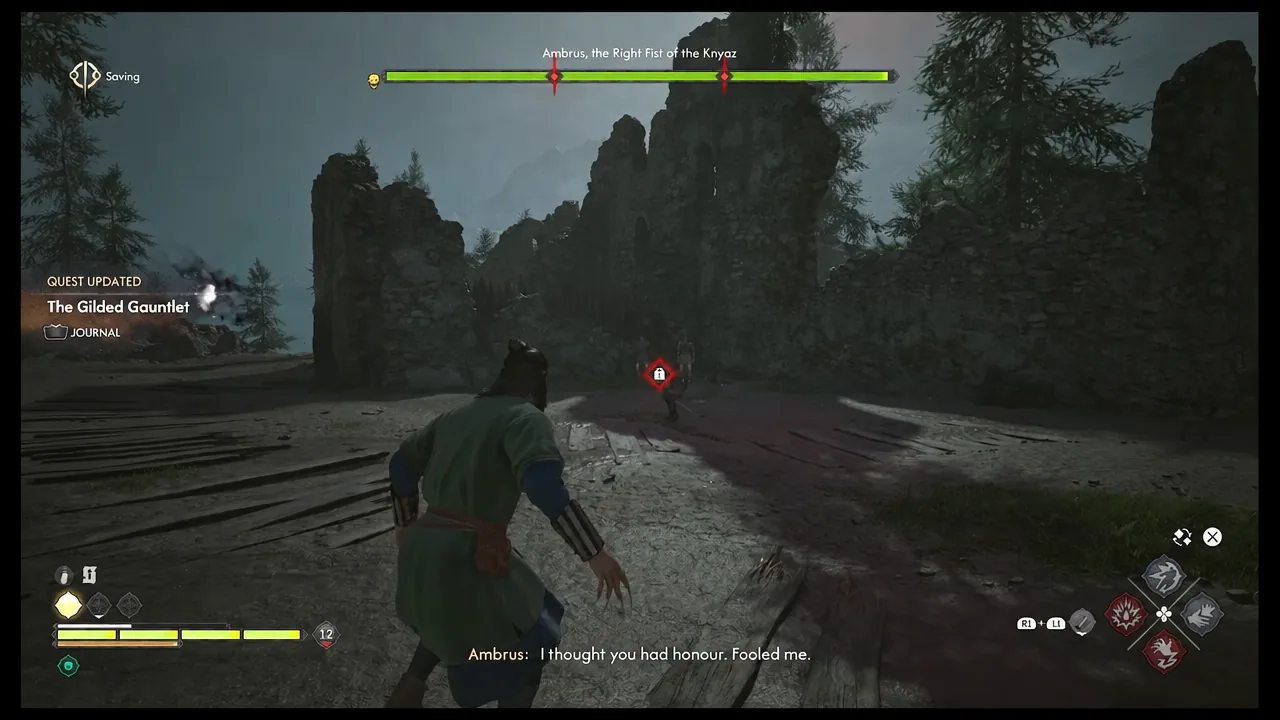
Shield and later phase
- Stop attacking during Scarlet Shield: the diamond indicator and grey health bar warn that your hits heal him.
- Defend through the blood-red teleport flurry; resume damage when ordinary attacks return.
- With successful poison, prioritize survival while it drains him. Without poison, repeat the defensive loop.
Blood or kill
Drinking grants Scarlet Shield but can transfer poison. Killing forgoes that feeding reward. Verify Infamy, loot and journal results separately. Keep the pre-fight save to compare later choices; this page does not promise that every invitation decision is consequence-free.
Drinking blood also affects Corruption. Review the Vrakhir blood and skill checks, then check the current skill tree and choice prompt before committing; the exact increase is not confirmed here.
After drinking: invitation and poison
Draining and inviting are separate decisions. ATH describes accepting Ambrus in Anachora as retaining his voice and later assistance. It does not establish that every ending is unaffected, so keep the earlier save if comparing outcomes.
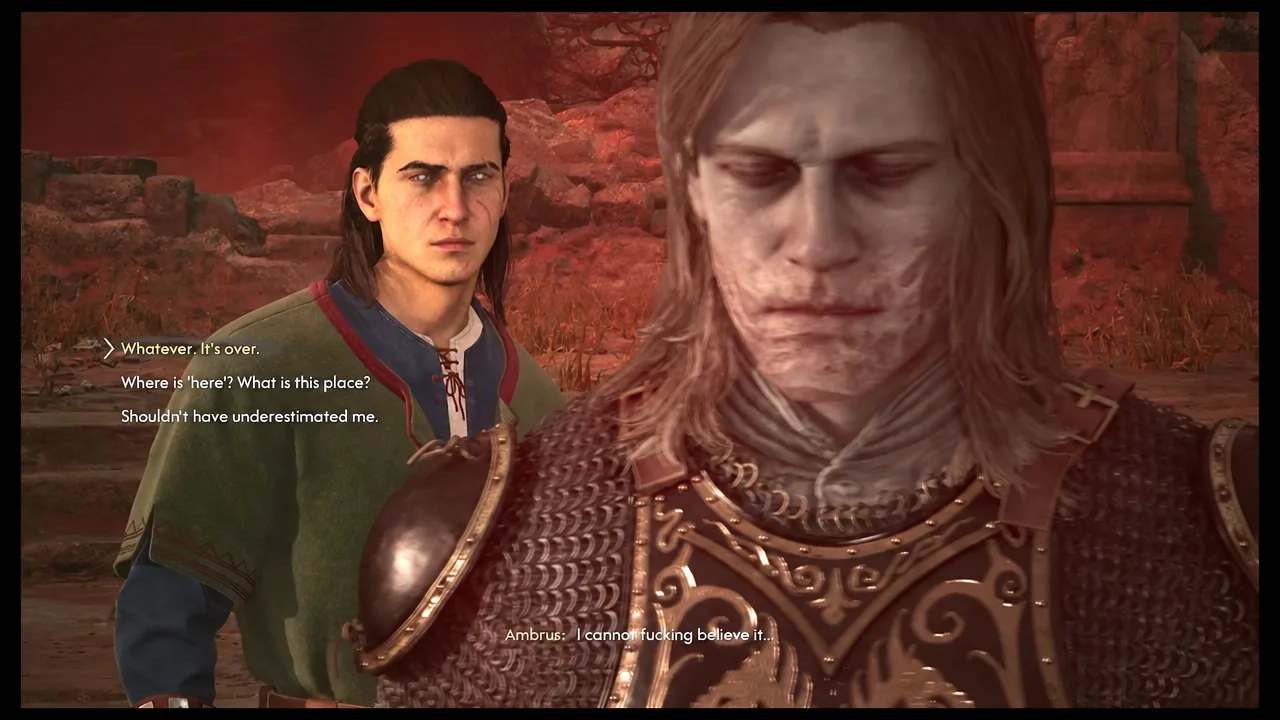
If poison persists after the duel, ATH reports that advancing time clears it. Use a shrine or non-combat activity, then recheck the status icon and health before another fight. The exact duration and whether every remedy fails remain unverified here; do not repeatedly consume items on that assumption.
His remaining Court activities may still be available after his death. Check their own objectives; old dialogue mentioning Ambrus does not by itself prove the duel failed.
Leech collector camp
Bounty of the Mire covers the guards, barrel interaction and disputed outcomes.