Complete Xanthe’s Court Activities until her anger is full, accept the soldiers’ lantern, then redistribute the manor’s lanterns to reach her. Finish the conversation after the fight: defeating her alone is not the final checkpoint.
Enter and collect the lanterns
- Track the soldiers’ invitation to Howling Keep. At the entrance, clear the enemies and give the lantern to the statue on the left.
- Inside, climb the southern stairs. Leave the pottery-room lantern installed; take the lantern from Iasmina’s adjoining room. Put it on the balcony statue, then retrieve the interior lantern without sealing your exit.
- Return downstairs and use a lantern at the western doorway. Cross the hostile courtyard to the shed and take its lantern. The blocked exit is expected: use the floor hatch.
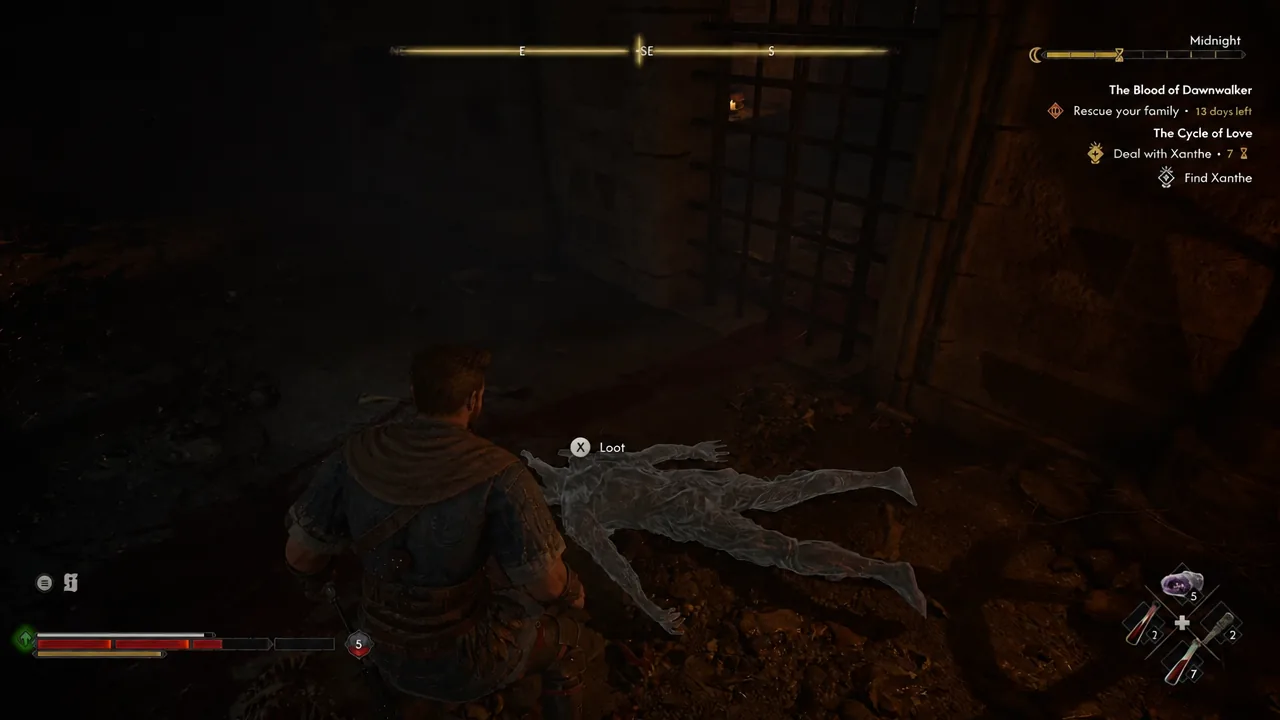
- Fight through the underground route. Loot the glowing corpse for the Key to the Kennels, unlock the nearby wooden door and return to the hall. Retrieve the courtyard-door lantern.
Open the final room
- Keep the pottery-room passage open with its interior statue; use an outside lantern temporarily if necessary, then reclaim that outside lantern. Carry two free lanterns to the Painted Door and fill both statues. A lamp still holding another door open is not available here.
- Before proceeding, check the western balcony rooms for St. Dasius’s relic and the staircase rooms for the Cycle of Ruin manual. Optional looting is separate from opening the final door.
Fight: react to the attack
For tracking projectiles, evade sideways; leave marked ground before it explodes. Close in after a teleport finishes. Follow the shield/skull indicator to distinguish blockable attacks from attacks requiring evasion.
Deplete the yellow bar to reach white health. When she withdraws and creates healing orbs, switch targets and destroy them promptly. This is the recovery mechanic to interrupt, rather than continuing to attack her while she heals.
Whips, glyphs and copies: choose the response
ATH’s boss account adds these attack cues. They are published descriptions, not frame-tested timings:
| Cue | Response to practise | | --- | --- | | A glyph forms around Xanthe herself | Back away before the nearby blast; do not continue a close combo. | | Two sweeping lashes | Defend each incoming direction; the first block is not the end of the exchange. | | Apparitions appear | Identify the real target before swinging: the account says striking copies makes them explode. |
Resume the orb check above when she retreats to heal. A fresh teleport alone does not prove every copy has vanished or that a counter is safe.
Resolve the choice — spoilers
- Complete the post-fight dialogue. Sparing her secures help against supernatural enemies at Greifberg; killing her leaves those enemies and permits the blood-drain outcome. Check the journal and The Dark Mistress achievement: sparing is not mandatory.
The invitation’s exact delay and total time cost are unconfirmed here: prose reports four segments, but the reference HUD shows seven. Do not use another save’s timer as your budget. See endings for broader consequences.
Confirm Xanthe became an ally
After sparing her, ask what she offers, return to that offer after the interruption, then agree to cooperate. ATH reports a green Xanthe entry with white flags in the Court menu as the alliance confirmation. Check that state rather than treating the boss defeat or blood acquisition as proof.
If the invitation has not appeared, inspect activities bearing her portrait. Existing routes include Taste of Power and Loophole; they are examples, not a mandatory fixed checklist. Keep working from her anger status and journal.