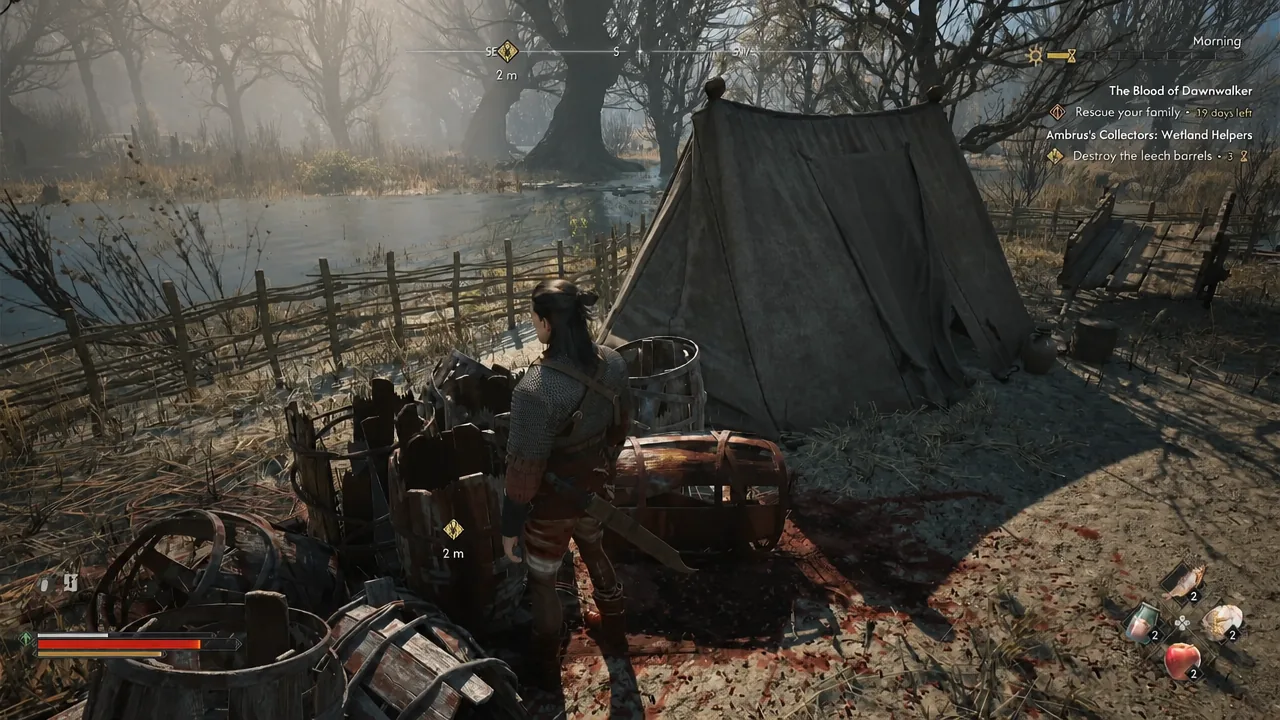
Clear the guards, then interact with the marked leech barrels. Budget three time segments. The source's claimed five-barrel counter is not visible in its screenshots, so verify completion from your journal instead of counting scenery.
Reach and track the camp
- After the Prologue, look in Briar Sloughs. Once discovered, track Wetland Helpers and follow the marker across the wooden bridge. A discovered activity marker does not by itself guarantee a fast-travel destination.
- Defeat the guards and check that the objective changes. If it does not, search the camp edge for a survivor.
Finish the interaction
- Search the bodies, cross into the central camp and follow the barrel markers. Use the displayed interaction prompt; do not assume the screenshot's controller binding applies to your setup.
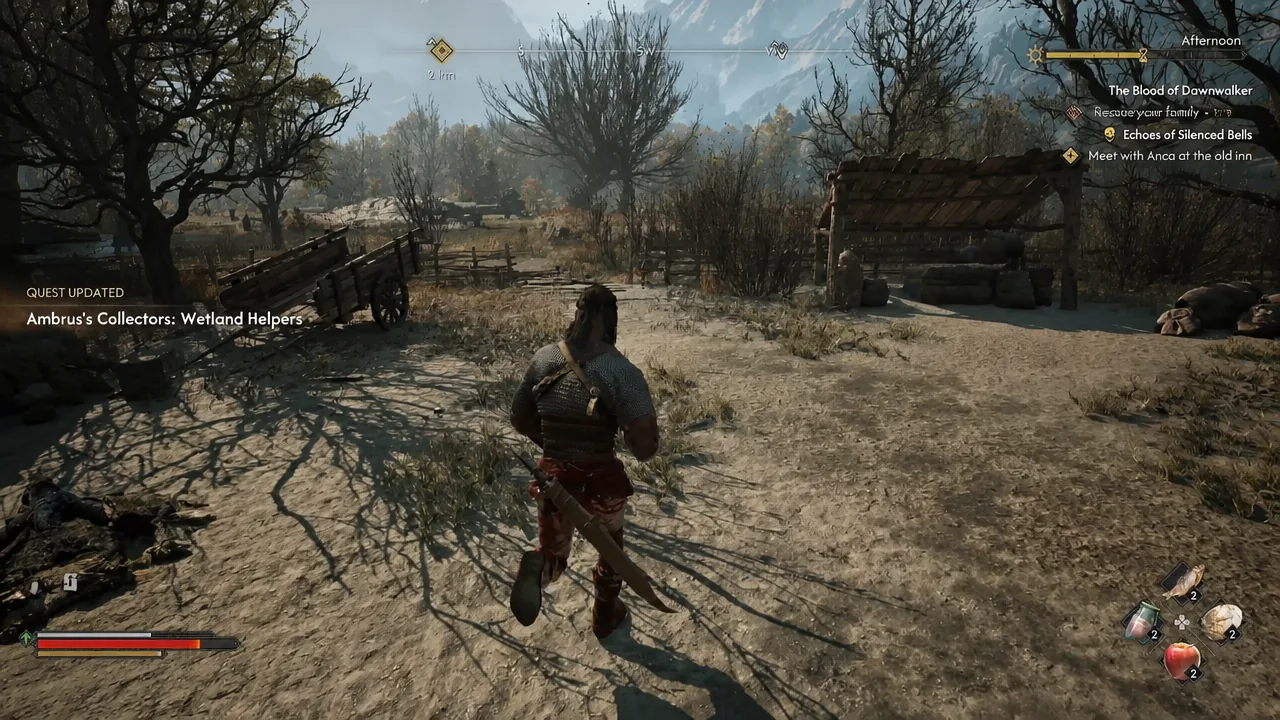
- Finish the interaction, then check the journal and Court menu. The screenshot shows a barrel objective and a three-segment hourglass, not a 0/5 counter. The separate quest-update picture confirms the name but does not prove completion.
The barrels will not respond to attacks
Approach the marked stack and look for Destroy. ATH's PC example shows Hold F: keep the displayed input held until the interaction completes, rather than tapping or striking the scenery. When the Collector interrupts, choose the response insisting on destruction if that is your intended branch, then let the scene finish.
Check the objective afterward. The reference image below already shows damaged barrels while the destruction objective remains active; broken scenery alone is not proof of completion. Claims that sparing every camp always breaks progression remain unconfirmed; see the choice checks.
Continue the collector route
See Bounty of the Mire and Unsavoury Solutions. Their shared guards-and-barrels structure does not prove identical dialogue or a mandatory clearing order. Exact first-discovery coordinates and the five-barrel claim remain unconfirmed.