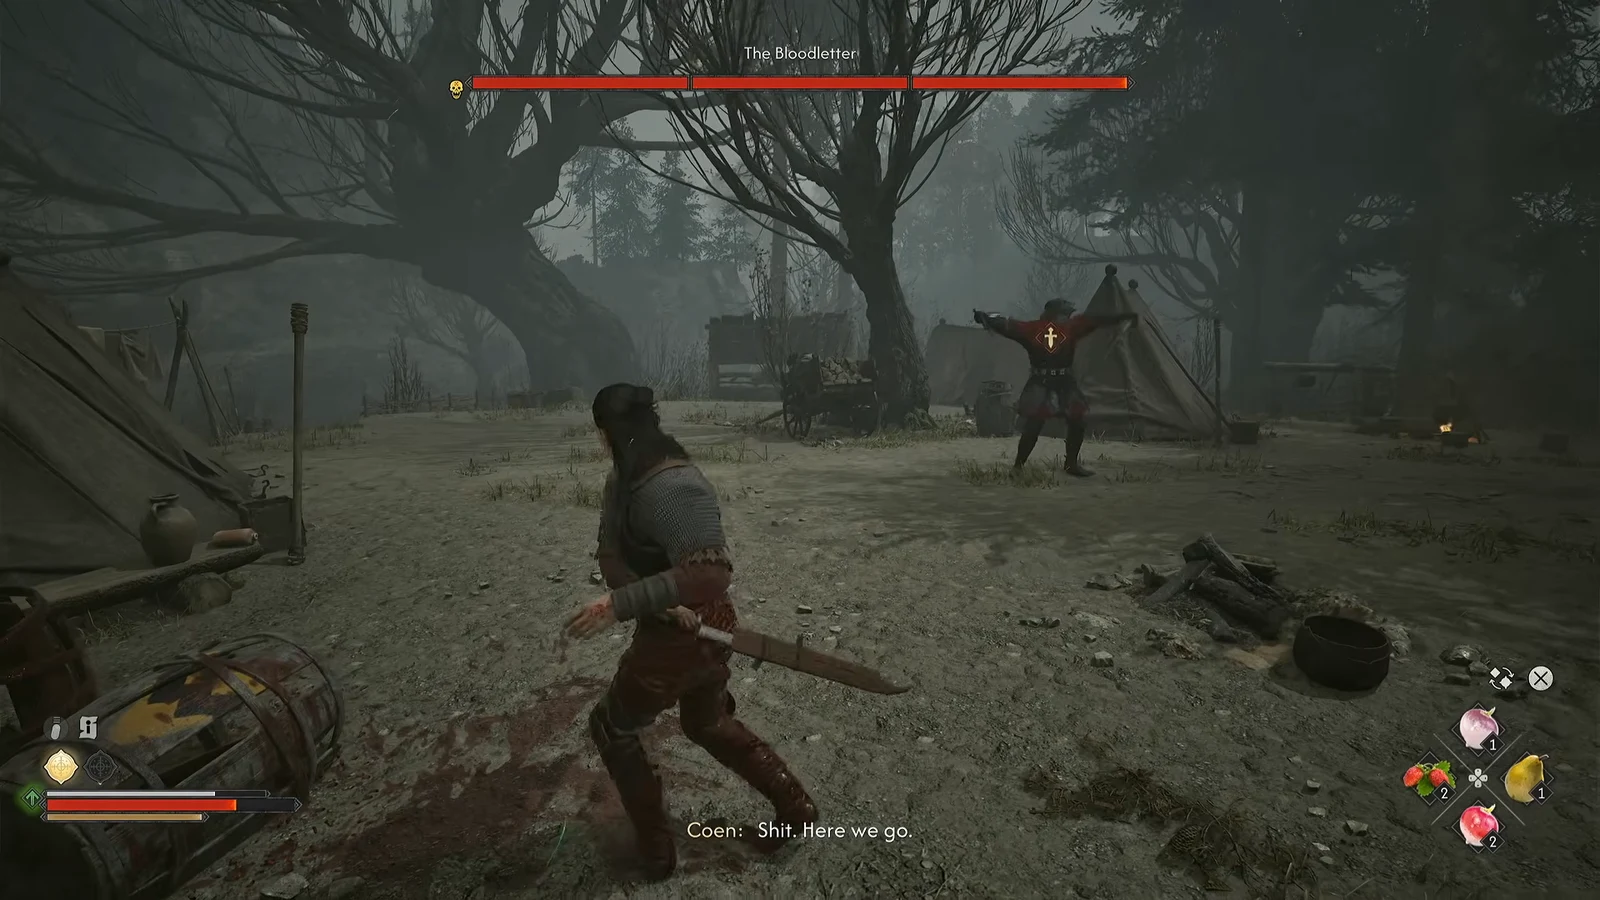
Find the small marsh island between Briar Sloughs South and Southern Swampside, clear the guards and interact with the leech barrels. Keep healing available for a possible Bloodletter fight afterward; his exact spawn conditions are disputed.
Clear the camp in order
- Approach until the journal names Unsavoury Solutions. Track that entry so the other collector camps do not send you to the wrong objective.
- Defeat the soldiers. Against a shield, reposition or break the guard rather than repeatedly swinging into its front. If wolves join the fight, clear the remaining threats before interacting.
- Search bodies and replenish healing before the barrel decision. Interact with the marked stack to follow the destruction route. The activity costs three time segments.
If The Bloodletter appears
- Confirm his name above the health bar. Create distance during his wide attacks, then use recovery openings; do not assume a fixed number of dodges guarantees safety.
- After winning, search the body for New Orders from Ambrus. Check your own loot panel: the two ATH accounts list different weapons and manuals, so neither list is a guaranteed loadout.
If he does not appear
One account ties him to the third collector camp with at least one earlier barrel destruction; another presents him as an automatic encounter here. Neither account independently proves every branch. Check Bounty of the Mire, Wetland Helpers, the remaining objectives and your saved choices before calling the quest broken. The picture proves a Bloodletter encounter, not the hidden trigger.
Do not rely on the claim that sparing every camp always causes a bug. Completion should be checked in the journal and Court menu, not inferred from a level-up or a time skip alone.