Visit Vicho at night and leave four time segments for the investigation. Enter his emporium by the balcony, go downstairs, then accept his request when enough night remains.
Shop entrance: what to look for
In Altenmarkt, search between the market area and Cathedral Complex for the balcony above the street-level door. Lacra or Ocha can provide a lead, but discovering the shop yourself is also reported. At night, aim Shadowstep at the balcony floor, enter and check for the downstairs noise objective.
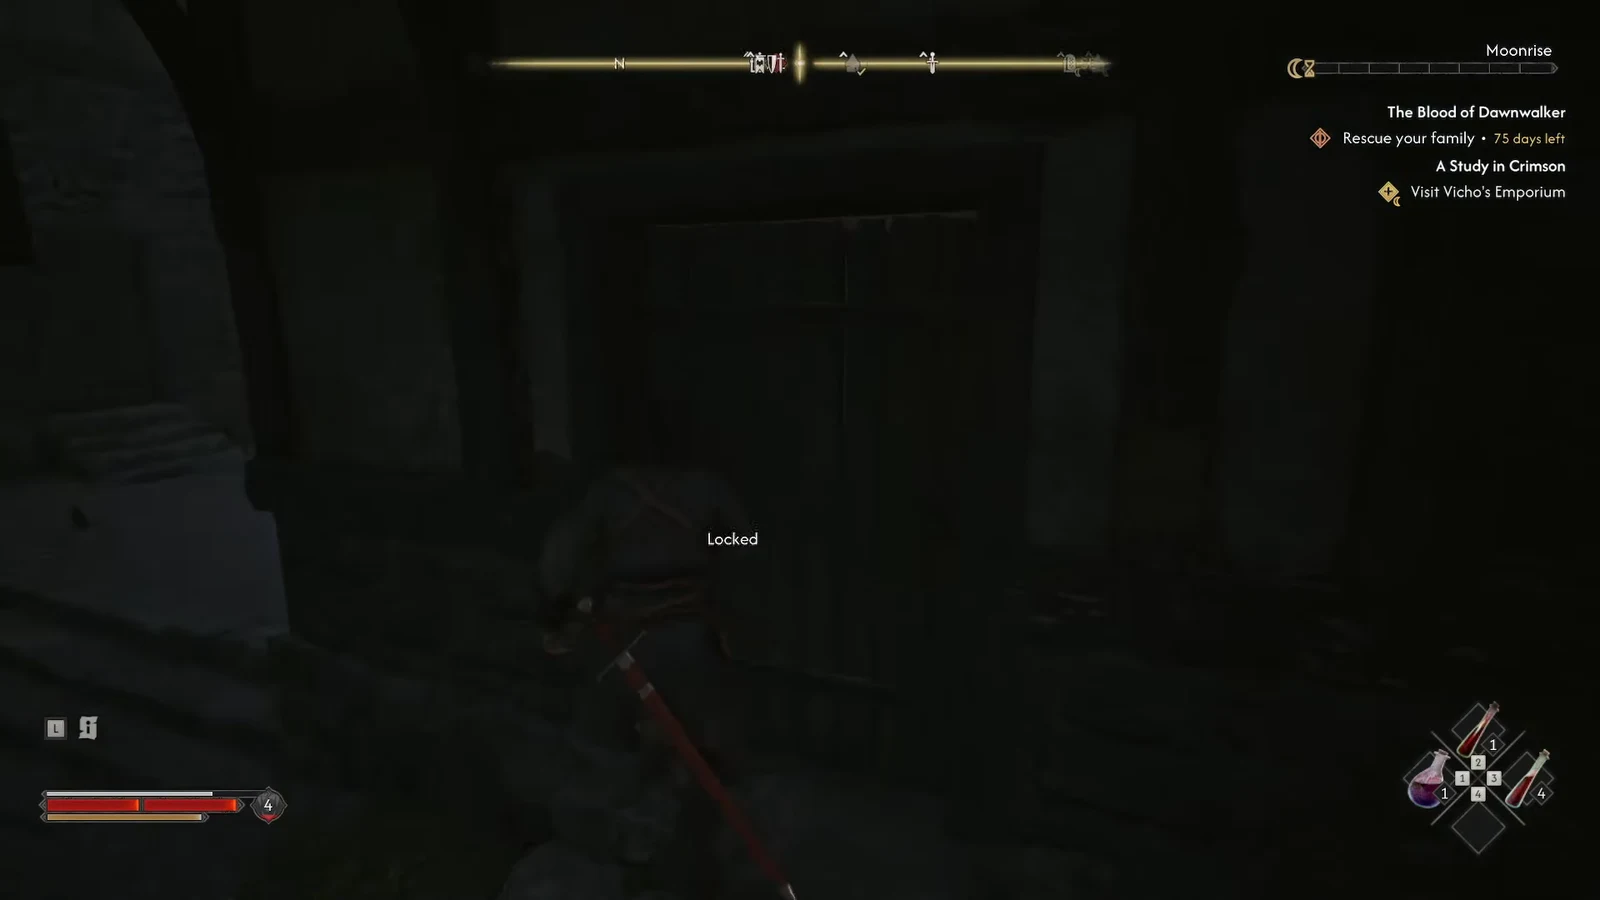
Stuck on “Find the source of the noise”?
Before leaving the shop for the murder investigation, check the lower room’s wall shelf. ATH reports a dead rat: inspect it and rotate it to examine the eyes, bite marks and fur, then put it down and open the room’s door. The resulting Vicho scene is the checkpoint for this objective; merely reaching the downstairs room is not the reported completion step.
Jeweller: check both bodies
- Follow Vicho over the rooftops. At the house, inspect Devora in the small upstairs room on the left.
- Inspect Eli in the basement, reached through the door left of Vicho’s seat. Use his Jeweller’s Key on the box behind the stairs.
- Resolve the guards outside, then follow Vicho behind the house to report your findings.
Eli’s key: return to the ground floor
After inspecting Eli in the basement, confirm you received the Jeweller’s Key. Climb back to the ground floor and look behind the staircase, low down behind the shelf. Aim the camera downward or crouch to find the small chest; the basement body and upstairs bedroom are not the lock’s location.
Unlock and loot it, then check whether the key objective has changed to sharing findings with Vicho. ATH lists a Lump of Silver and Silver Cross as the evidence. If the objective remains, verify the key pickup and this container before searching another floor. Devora’s investigation is a separate check.
Doctor: find the key and deed
- In the yard’s shed, inspect the table and left-hand book stack for the house key.
- Unlock the house, collect the upstairs Property Deed, and tell Vicho you are ready.
Warehouse: enter above the locked doors
- At the rear, find the projecting wooden platform. ATH's entrance guide describes the climb as platform → adjacent roof → upper balcony. Use those intermediate landing points rather than attempting the whole wall from street level.
- Open the balcony door and step inside. Check that Find another way into the warehouse changes to Find Doctor Simeon; standing on the balcony is not the same as entering. This exact exterior route has not been firsthand-tested here.
Simeon's later key is reported for a lockbox, not this entrance. If you are still trying ground-floor locks, return to the rear climbing route. Prepare before descending to the basement encounter with Vicho.
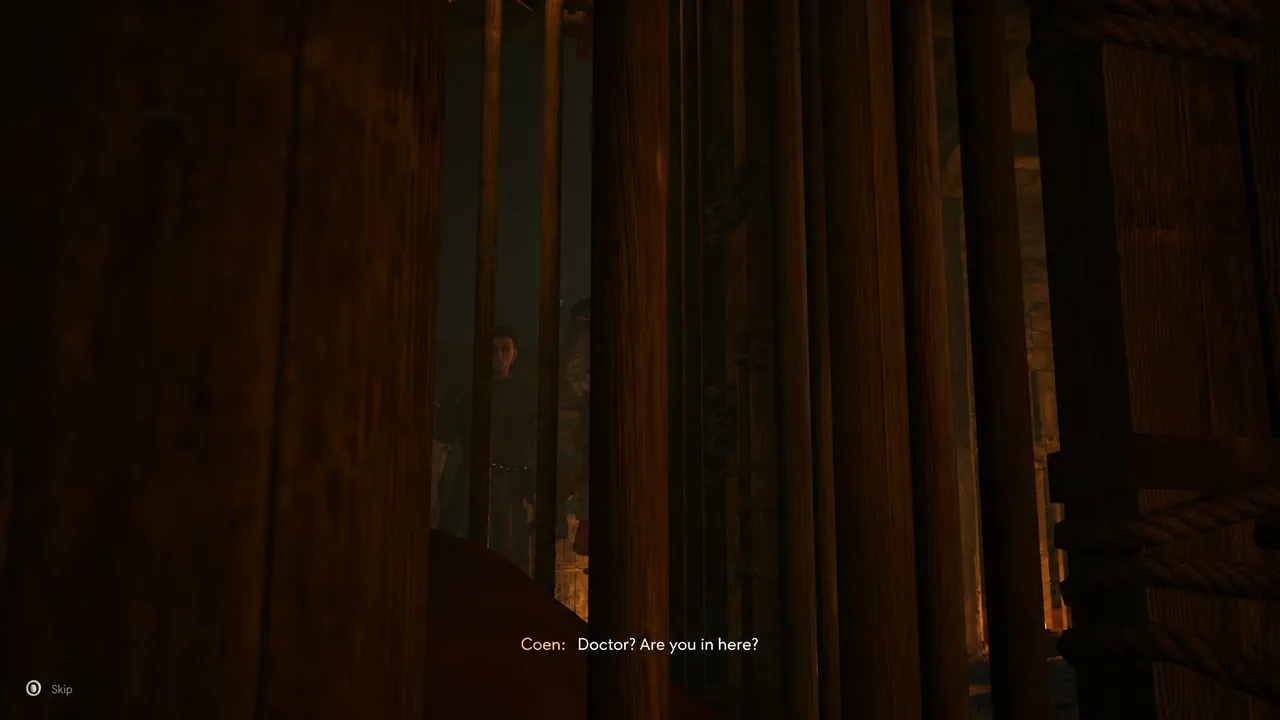
Doctor’s house: finish reading before leaving
After taking the key, confirm the objective asks you to try the house door. Inside, ATH places Patient Notes on the downstairs desk and the Medical Journal among dirty clothes upstairs. These add context; the Property Deed is the progression item. When the journal asks you to talk to Vicho, finish any desired reading before confirming departure. Inspecting the shed desk alone is not the key pickup.
Warehouse: still searching for Simeon?
From the balcony room, descend to the middle floor, then continue down to the basement. ATH describes an intervening bloodied workbench, instruments, teeth and a broken cage; inspecting these is not the same as reaching the doctor. The encounter scene should change Find Doctor Simeon to Defeat Doctor Simeon.
For his reported frontal Piercing Shriek, move sideways out of the cone. Keep him in view when he teleports and avoid committing to a long combo. These are published tactics, not a tested dodge window. Finish the post-fight conversation and check corpse loot separately.
What happens after Simeon?
The next daytime medic quest is The Good Samaritan. Complete it before returning to Vicho at night for the truth conversation. His death removes the vendor; check the branch-specific reward below.
ATH’s older reward table conflicts with its prose: a Cross immediately after Simeon is not established.
Reported route to keep Vicho alive
Save before the confrontation. ATH documents acknowledging the killings, showing sympathy, treating his condition as a gift, offering companionship, then promising blood from transports and rejecting the idea that he is a monster. This is a reported route, not proof that every alternative fails.
Confirm that he remains in the shop and Unquenchable Thirst appears as a follow-up quest. It is distinct from the similarly named achievement. ATH reports later blood requests, but their exact frequency and all accepted items remain unverified here; follow the active request rather than assuming any monster blood works.
For Vicho’s Cross, ATH reports direct delivery on survival and an upstairs bench pickup after his death. Check both the actual dialogue reward and inventory; the older article’s reward table is inconsistent.
Which chest accepts Simeon’s Key?
Use the lock’s named prompt to identify it. A separate key guide describes a top-floor room on the right, with a wooden chest beneath the window on the left wall. That conflicts with the first-floor warehouse description below, so the exact floor remains unconfirmed. Check for Simeon’s Key in the opening prompt; an ordinary container opening is not confirmation. Neither fixed chest contents nor the key disappearing after use is verified here.
Optional warehouse letter and source differences
ATH’s Vicho overview reports a key on Simeon’s body and a locked chest on the warehouse’s first floor containing Ivo’s reply. It says reading the letter gives no immediate marker. Treat it as an additional clue, not a proven prerequisite for the medic’s quest.
That overview recommends discouraging Vicho’s death and emphasizing that he can change; the confrontation article instead lists the condition-as-a-gift response. Both continue with support and blood from transports. Their differences do not establish a single compulsory encouragement line.
The overview also places the achievement after the confrontation, unlike PowerPyx’s field-body checkpoint. Check your achievement list at both stages; a missing early notification alone does not prove the branch failed.