After What Hunts the Night, follow Crake and Mevasser. The route runs through Silas’s former house and a concealed basement passage; rescue Crake before returning to the hideout.
Get the house location
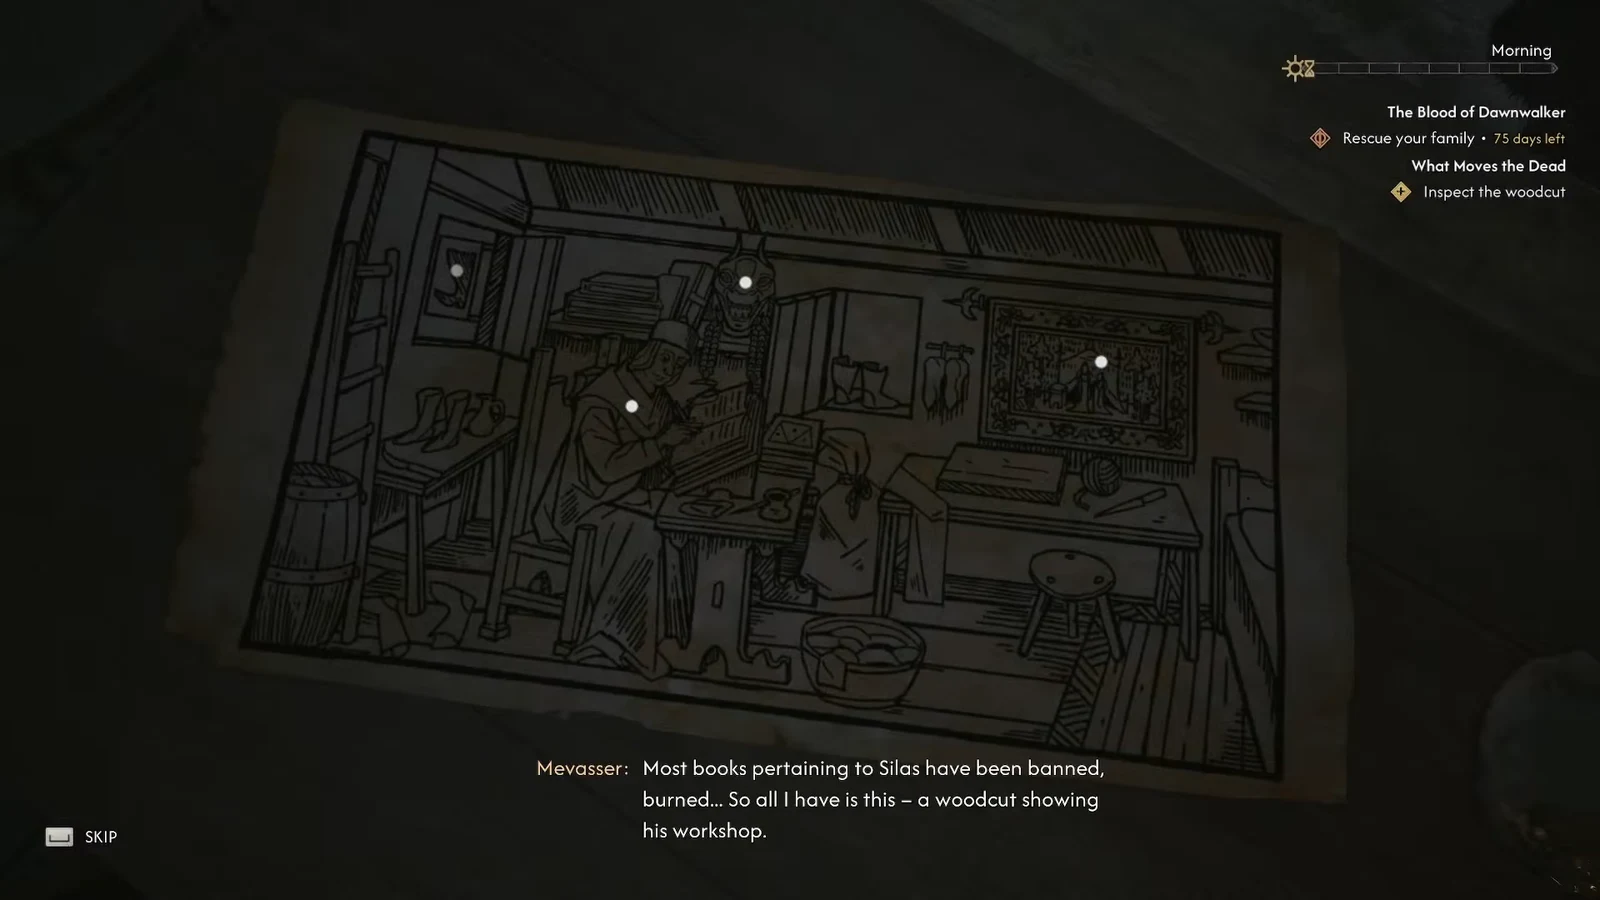
- Follow Mevasser home and resolve the extortion encounter by paying or fighting. Inside, inspect all four woodcut clues: the tapestry, mask, cobbler’s sign and Silas.
- Ask the woman sitting with a dog about Silas. PowerPyx confirms that the short explanation also gives the location; the longer version is not required. Find the house left of the nearby stone arch and wait for Crake to unlock it.
Open the concealed passage
- Inspect the wall patch in the first room, the chimney in the next room, then the floorboards beside it. Resolve the owner’s interruption by threatening or paying; ATH lists a 50 Denarius payment. Descend through the floor opening.
- Inspect the bookcase against the basement wall and move it to enter the ruins. In the laboratory, read the note and follow the footprints deeper. A nearby locked side room has a key on a table, according to both ATH accounts; optional loot is not a prerequisite for the rescue.
Track and rescue Crake
Abduction, sword pickup and escape — spoilers
- Continue into the crypt and examine the body and paper beside the lantern. After Crake is taken, follow the blood trail in Focus Mode. Before squeezing through the wall gap, look on the ground for Crake’s Sword; PowerPyx says you keep it if collected here.
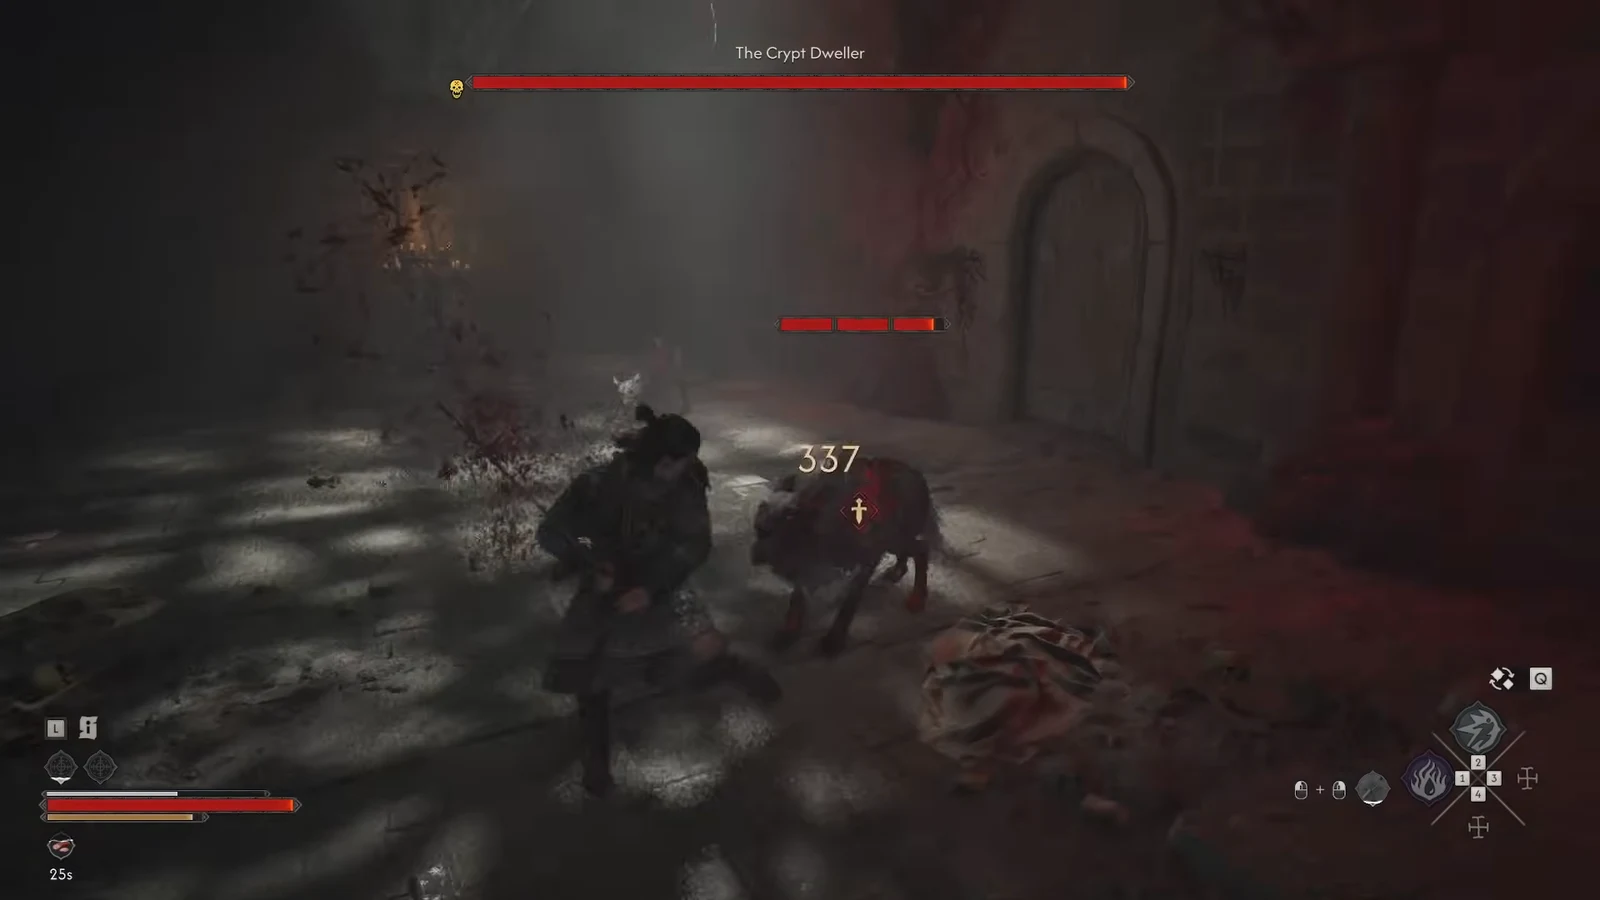
- Defeat the hounds and the Crypt Dweller encounter, then help Crake toward the exit. If the exit is locked, search the chamber for the Crypt Key described by ATH. Follow the nearby door and ascending stairs to the graveyard instead of retracing the laboratory.
Keep the optional relationship route open
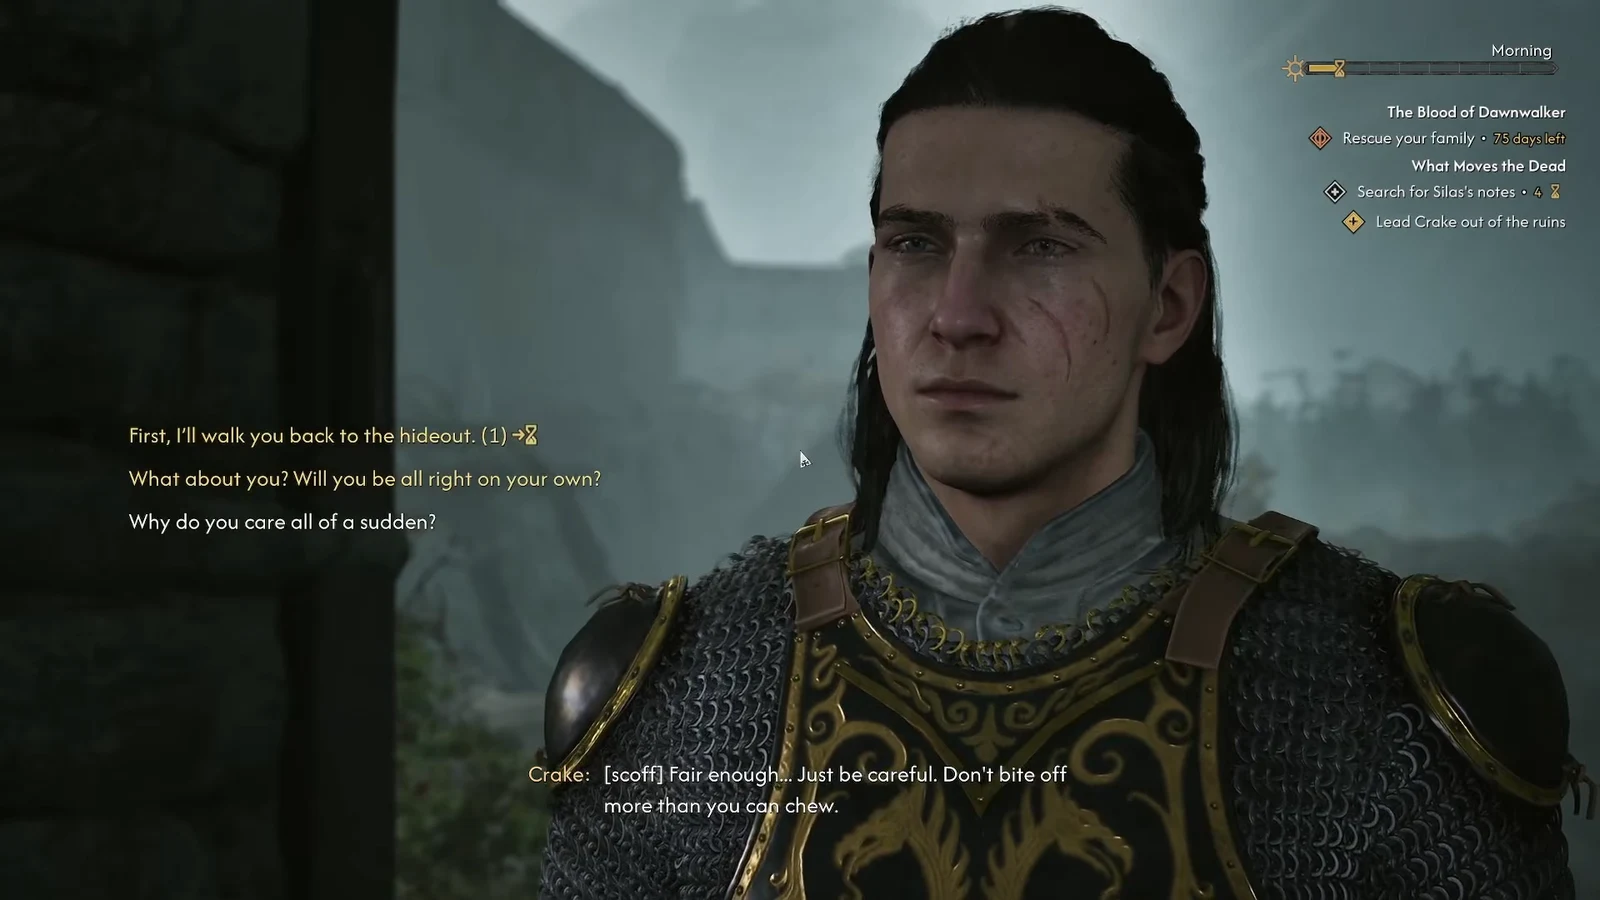
- Outside, discuss Aurelius and offer to escort Crake to the hideout. There, offer help with his wounds, acknowledge their severity and agree to assist. Together with the earlier refuge conversation, this is the recommended route toward Distant Shadows. Confirm the new quest in the journal rather than assuming the escort alone guarantees every relationship outcome.
Who Pulls the Strings continues the investigation. See Crake’s guide for the optional relationship chain.
Which rewards are confirmed?
The two ATH chamber-loot lists differ, so neither is presented as a guaranteed bundle. Exact drops remain unconfirmed. PowerPyx also makes Life Lock conditional on previously obtaining Aurelius’s book; it is not an automatic reward for every completion.
Continue: Who Pulls the Strings: tower, book and handover
Who Pulls the Strings: tower, book and handover