Return to the manumit hideout after Where Loyalty Lies, then meet Crake and Sara at St. Teotim’s Church at night. Inspect the yard before attempting the belltower doors.
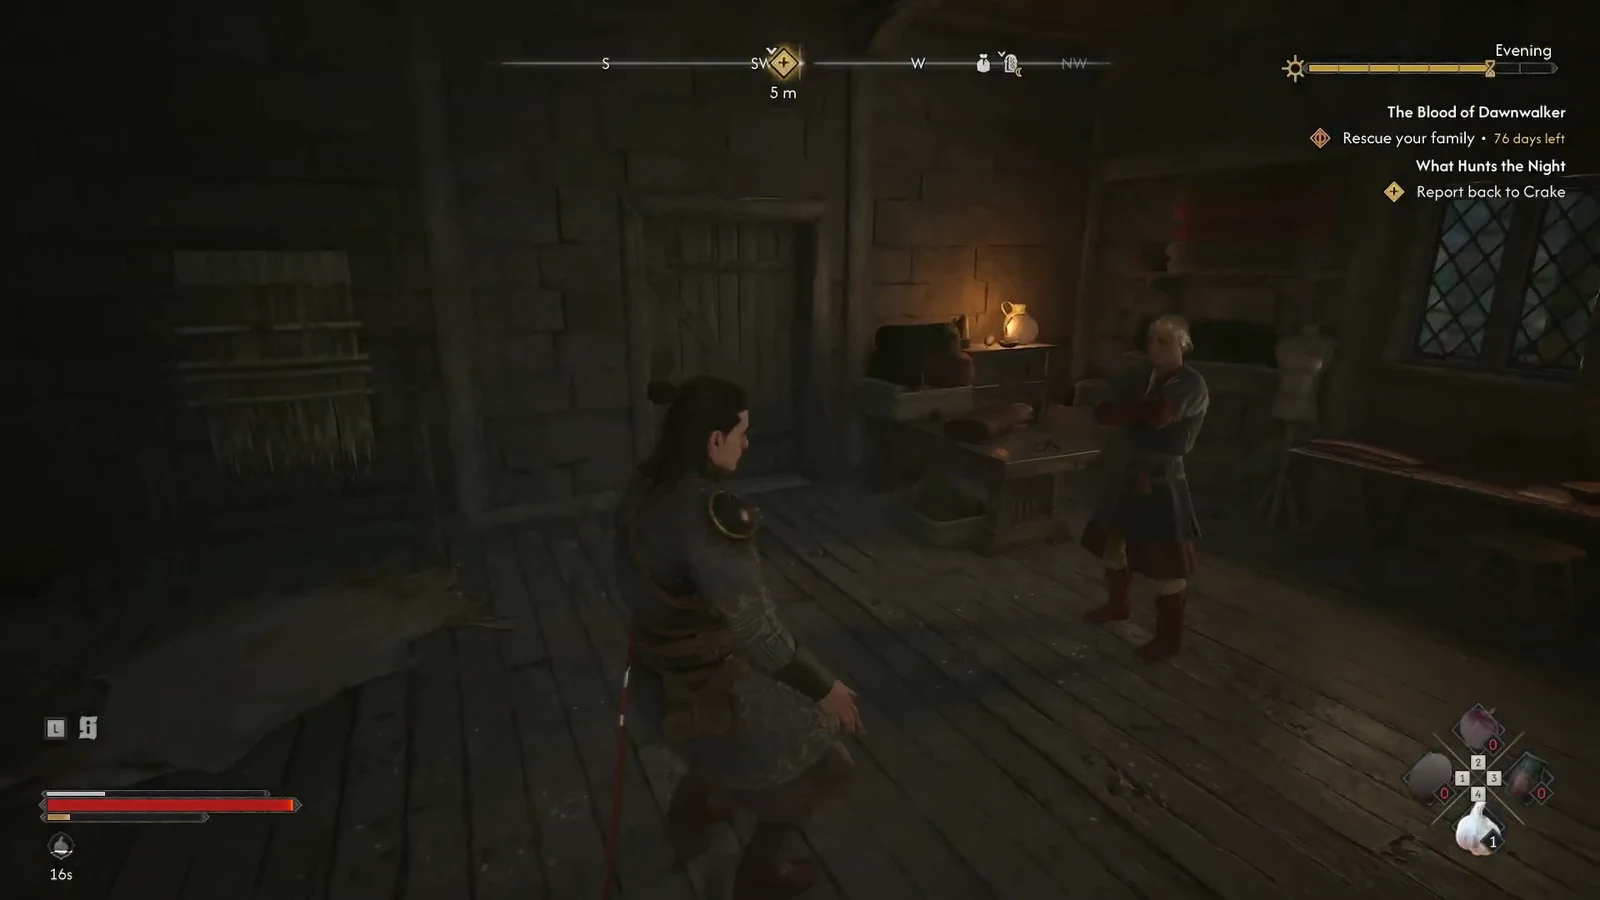
Find Crake below the shop
- Take the uphill route from the warehouse toward the stone arch, then follow the marker into town. Enter the trader’s building and descend through the interior doorway to the cellar back room. Standing at the shop counter does not finish the report.
- Complete Crake’s conversation and meet the pair at the church in the Middens after dark. Immediate travel advances time, so read the cost prompt first. Both full walkthroughs list eight time segments for the quest.
Inspect the yard and the tower entrance
- Follow your companions. If the churchyard entrance is obstructed, cross to its other side, clear it and admit them. Use Focus Mode to inspect the ground stains and the large wing inside.
- Follow the highlighted trail to the wooden tower door, interacting with clues rather than walking across them. If the objective stalls, retrace the ground and check the wing. A strict mandatory inspection order is not independently verified.
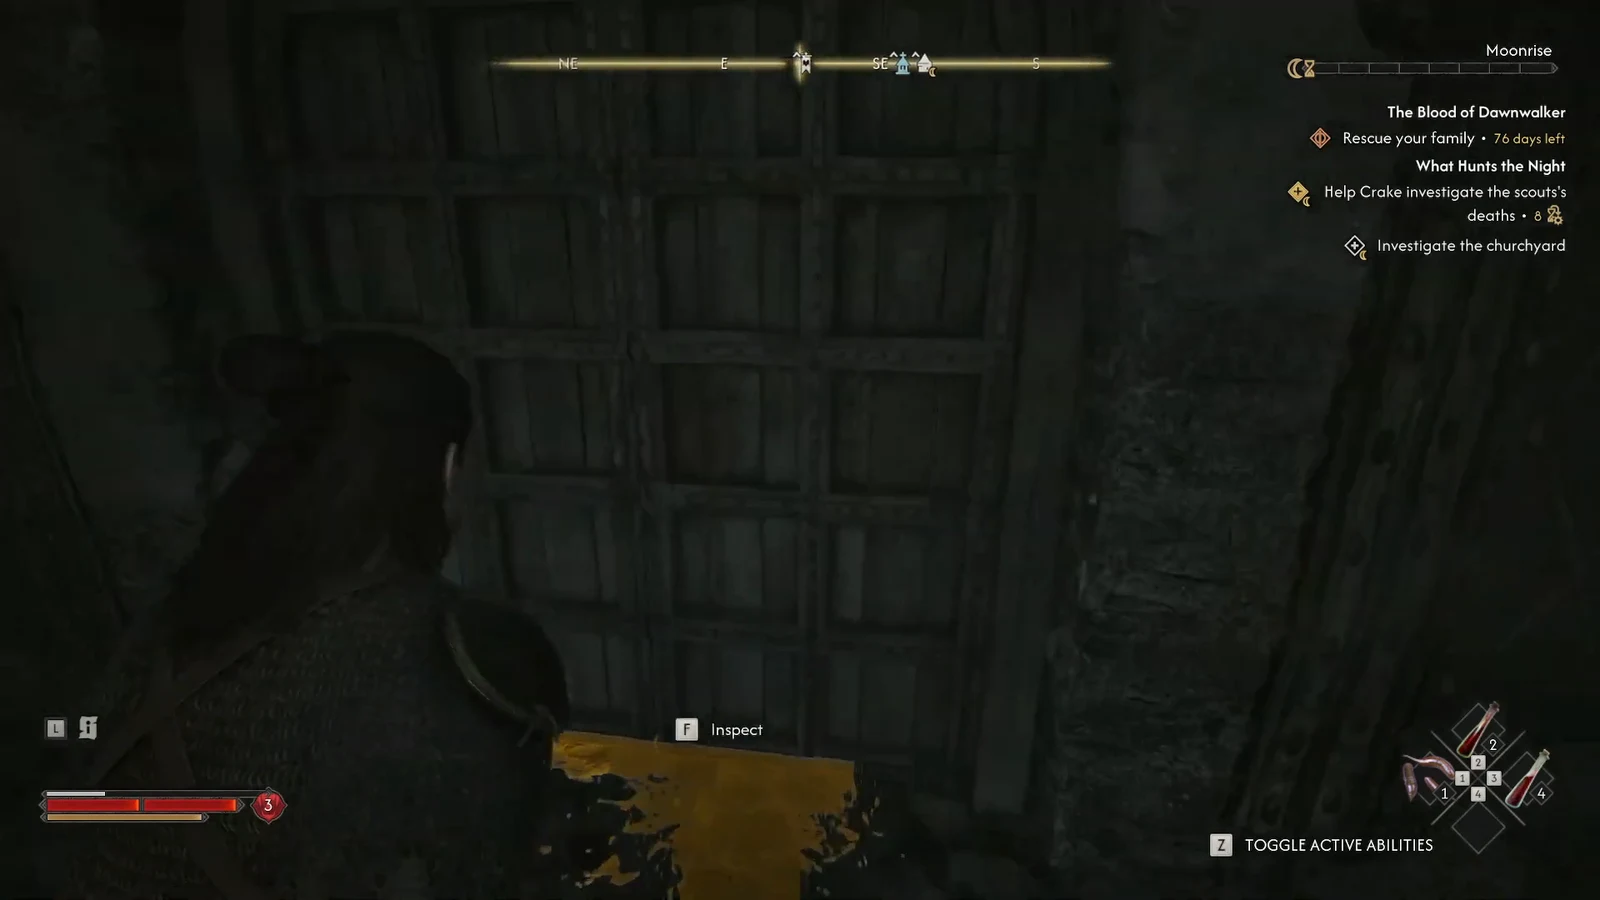
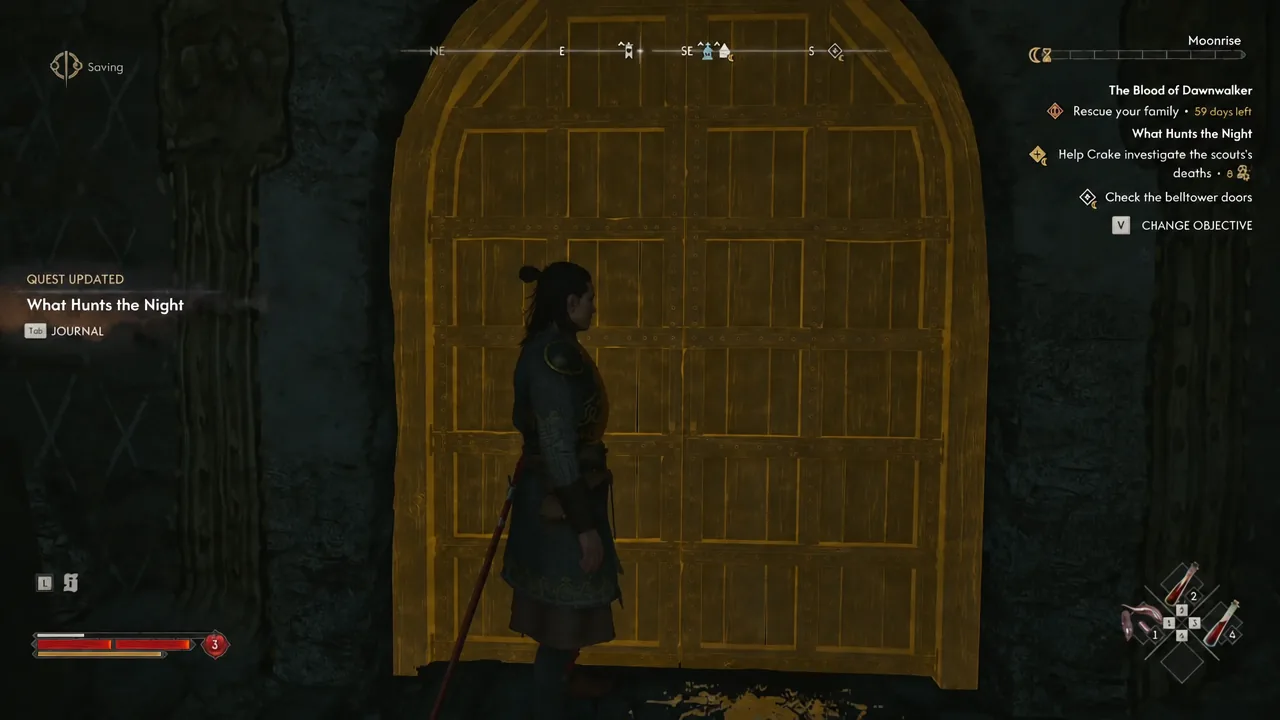
- Confirm the tracker changes to checking the belltower doors. Prepare health and equipment before opening them; combat follows. Yellow highlighting identifies an interaction, not necessarily the liquid’s natural colour.
St. Teotim’s beast: respond to the leap
When the creature leaps, dodge sideways rather than relying on retreat alone. A skull-marked attack needs evasion; use directional defense for blockable attacks. After a successful block, take a brief opening and reset before the creature attacks again.
If Sara draws its attention, use that space to heal or reposition. Sword abilities and claws are options, not a required finishing sequence. No fixed damage or universally stronger weapon is established here. When the scene ends, continue the corpse inspection and Crake objectives below; winning is not the quest’s final handoff.
Defeat the creature and escape
Fight, escape and relationship checkpoint — spoilers
- Defeat the beast, using movement and directional blocking between openings. PowerPyx describes a damaged-wing ground attacker. An exact damage rotation is not verified. After the scene, inspect the corpse’s highlighted points and inscription clue.
- Follow Crake and clear enemies obstructing his route. At the escape gate, use Shadowstep to cross, defeat the enemies beyond and let him through. This is a different gate from the churchyard entrance.
- In the refuge conversation, ask about Sara, continue showing concern, acknowledge losing someone and invite him to discuss those he lost. PowerPyx recommends this sequence for later optional quests. No hidden relationship score is verified; do not confuse this checkpoint with the earlier report dialogue.
Crake waits at the escape gate
If Crake stops during the escape, check for surviving guards along the current route before running ahead. At the final locked gate, inspect the wall beside it and use Shadowstep to reach the ledge. Drop to the far side, clear any remaining threat and operate the gate from there. Crossing alone does not let Crake through.
ATH distinguishes optional corpse looting from the required escape interaction. Confirm that Crake passes the opened gate, then continue the conversation; do not treat a cleared street as the final checkpoint. Keep the relationship choices above when planning his later questline.
Confirm the handoff
At morning, check for What Moves the Dead and the journey to Mevasser. ATH includes the scholar meeting within this quest, while PowerPyx places the transition before it. Follow the journal title to distinguish the two. Unusual day counters in the reference saves do not establish the normal campaign limit.
See Crake’s relationship guide for later progression.
Silas investigation and rescuing Crake
What Moves the Dead covers the hidden basement, sword pickup and escort conversation.