Start the Watermill Hills wisp hunt on the slope west of Sloughside Mill, then follow the lights through the hills to their chest. The route includes a Ravenous Bear encounter. Bring your combat supplies and check the time prompt before opening the final container.
Follow the route in order
- Reach Sloughside Mill. Use its shrine if you have already unlocked it. Head west uphill and look for floating red lights rather than searching the mill building for a treasure map.
- Approach the wisps. Check that the journal shows Watermill Hills. Follow the lights southwest toward the rocky path; keep them visible instead of running straight to a distant compass objective.
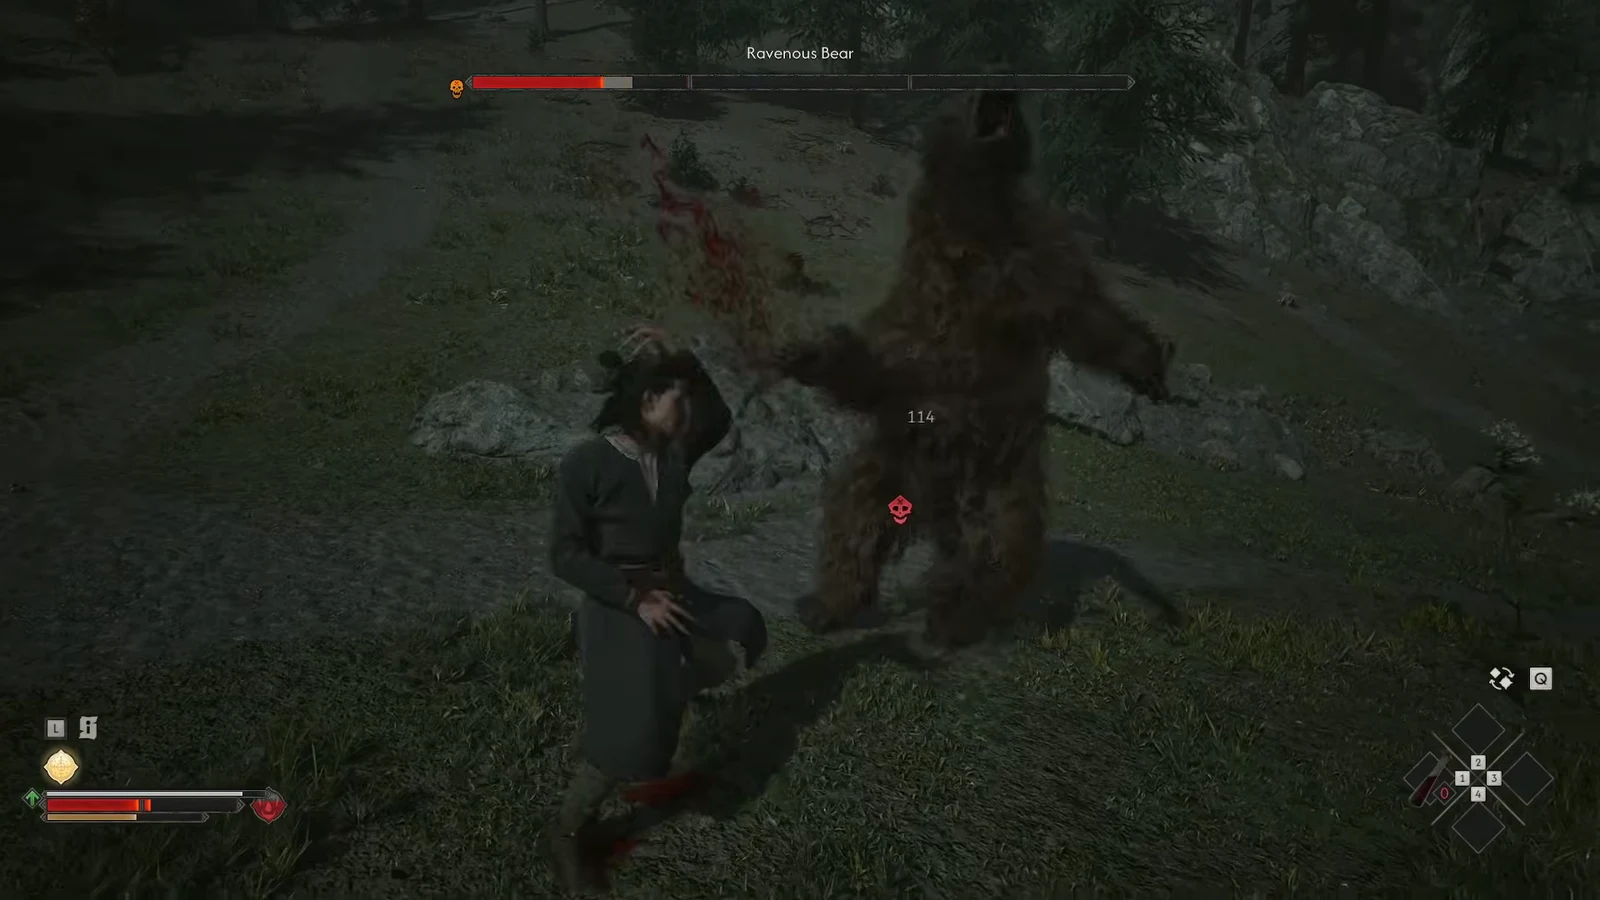
- Deal with the Ravenous Bear. Let its attack finish before replying, and evade unblockable attacks rather than attempting to block them. The blocking and counterattack guide explains the basic response.
- Return to the lights after combat. ATH describes the next leg as northwest uphill, followed by a turn east downhill. Use the wisps to confirm the turns instead of treating those directions as an exact coordinate.
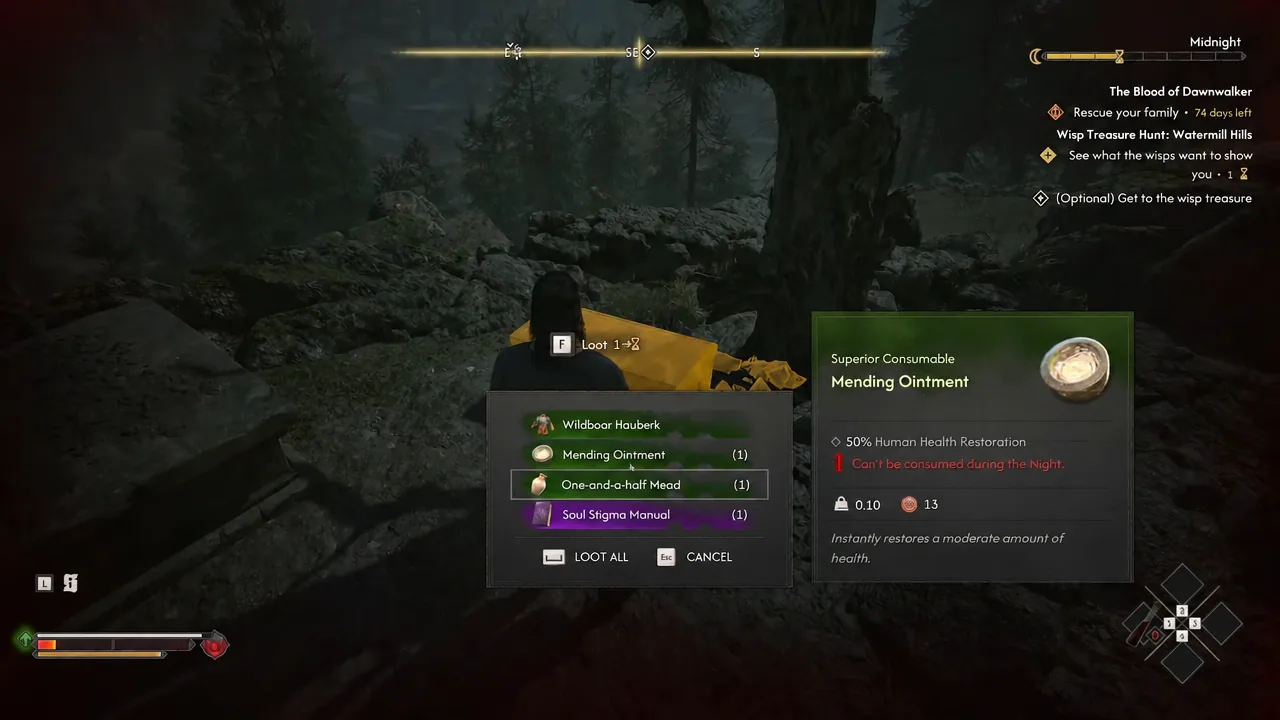
- Find the chest near the stonework and bodies. Approach the container and inspect its interaction prompt. Gamer Guides lists this activity at one time segment; do not convert that into a fixed hour.
- Collect the contents and check the journal. Confirm that the Watermill Hills activity has ended, then inspect the acquired items. Follow up on any manual in your inventory and development tree.
What if the wisps stop or disappear?
When the lights wait near enemies, finish the encounter and approach them again. PowerPyx notes that enemies along a wisp route can prevent further guidance. If you lost sight of the lights, return to their last visible position and retrace the route instead of continuing through unmarked woodland.
Also check which activity you are tracking. A Stoneward Post objective appears in some ATH illustrations, but it is not the destination for this treasure hunt. The supplied chest image explicitly shows Watermill Hills.
How should you handle the bear?
Keep enough stamina to respond after your own attacks, and avoid extending a combo while the bear is beginning its next move. Normal attacks and unblockable attacks call for different defensive responses. For more detail on the same enemy type, consult Bear Trouble; that separate quest is not a prerequisite.
No fixed bear level, health-bar count or combat XP is promised here. The sources show individual playthroughs, not a verified rule that every encounter has identical values.
Which rewards should you expect?
ATH's accounts list different manuals and equipment, so this page does not guarantee Medicus I, Frugal Witchcraft, Soul Stigma or a particular weapon on every run. The reference image shows one loot window, not a universal reward table. The reason for all differences has not been established for this specific chest.
Read a collected manual, then check the corresponding node in the development tree. Gamer Guides describes these perk manuals as unlocking an option for purchase; reading is not the same as buying the perk. Use unlocking skills if the ability has not become usable.
Completion and time checks
The journal distinguishes following the wisps from reaching their treasure. Use the completed entry and your inventory together to verify success. ATH disagrees on whether opening or completely emptying the chest triggers completion, so no inventory-emptying requirement is assumed.
The visible hourglass and the database support a time-segment cost. ATH's fixed-hour wording, claim that only two wisp hunts exist, and automatic shrine-unlock claim are not adopted here.
Continue: East Road wisp treasure: follow the forest route
East Road wisp treasure: follow the forest route
Continue: Wisp hunts: six activity names, route links and missing checks
Wisp hunts: six activity names, route links and missing checks