To finish Bear Trouble, complete Smoke and Ashes, cross the river northwest of the Briar Sloughs tower, and use Focus to follow the chimes and yellow-cloth cairns uphill. Defeat the Ravenous Bear, inspect the uriash remains on the west side of the clearing and the nearby knife, then copy the glyph on the central standing stone. Finally, find and read the manual; winning the fight does not teach the skill.
Stuck on “Explore the top of the hill”?
After the bear falls, check the remains and forearm wound, inspect the nearby knife, then return to the central glyph. Read the objective after each interaction so you can identify the unfinished stage. Use the knife reference image further down to recognize the item, rather than treating it as a map of the whole summit.
- Follow the windchimes: resume from the last chime or yellow-cloth cairn; inspect the abandoned camp for footprints.
- Defeat the bear: finish the encounter before investigating the summit.
- Explore the top of the hill: recheck the remains, forearm and knife.
- Inspect the uriashi glyph: return to the central carved stone and review the time prompt before copying it.
Confirm that you are starting the actual quest
- Finish Smoke and Ashes first. Bear Trouble has no NPC giver: the windchimes trigger it, so the quest cannot appear before that prerequisite is complete.
- Open the map and reach the river valley by the Briar Sloughs scouting tower. Cross the river and move close to the mountain base until you hear persistent chimes and the journal says “Follow the windchimes.”
- The climb works by day or night and in either form. The map helps you reach the riverbank, but it does not provide a precise route once you start climbing.
If the quest is absent, check that Smoke and Ashes has resolved. If you crossed the river but hear no chimes, return to the riverbank opposite the tower and find the first chime on its wooden frame instead of free-climbing the cliffs.
Stay on the PC route: chimes, cairns, and chalk
- Sheathe your weapon and hold right mouse for Focus. It highlights the chimes, cairns wrapped in yellow cloth, and white chalk marks on the rock; reactivate Focus at every fork.
- Climb the short ledges directly above the first chime. This is a sequence of small climbable ledges, not one wall you can scale in a straight line. At each shelf, locate the next marker before moving.
- Use the movement ability shown by the game when a broken section is too smooth to grab. Its binding can differ after remapping, so follow the on-screen prompt and the Controls page rather than assuming a fixed key.
The route reaches an abandoned camp with rotten food. Sweep it in Focus to pick up footprints when the chimes thin out; without them, the trail can look like a dead end. Past the blue-ribbon chime, markers are farther apart, so identify the next outcrop before committing to a jump.
Save on the plateau, then deal with the Ravenous Bear
- Save when you reach flat ground. Entering the clearing should replace “Follow the windchimes” with “Defeat the bear”; if it does not, you have not reached the bear’s clearing yet.
- The bear’s charge and its forward slam after rearing up are unblockable. On PC, hold a movement direction and press Space to dodge sideways, leave its front, then counter only after the attack animation ends.
- The hilltop investigation advances after the bear is defeated. Do not skip the fight because you can see the cave, standing stone, or loose objects; they do not replace the current “Defeat the bear” requirement.
Use the journal update as the check, not a damage total, kill time, or mandatory combo. If the fight feels crowded, first make space for side dodges and wait for a clear opening.
Read the bear’s opening before choosing a response
| What you see | Response |
|---|---|
| Ordinary claw swipe | Match the block direction; counter briefly after a successful defensive opening. |
| Side shift followed by a lunging bite | Move sideways out of the lunge. |
| Bear rises onto its hind legs | Leave the frontal slam area. |
| Red-skull rush | Evade sideways instead of holding guard. |
Stop your counter when the bear recovers. ATH recommends a short punish, but an exact hit count is not guaranteed across weapons. The fight opens the hilltop investigation; it does not itself grant the manual.
Inspect the body and knife before returning to the glyph
- Search the west side of the clearing for the uriash remains, using Focus to examine the forearm wound and symbol. This follows PowerPyx's landmark; AllThings.How instead describes the remains inside a cave. Their exact positional correspondence remains unverified. If the remains are missing, use that cave description as another search lead and confirm the object through Focus and inspection feedback.
- Search the ground by the nearby rocks for the bloody knife. Trigger its close-up inspection and finish the examination. Check that Coen comments on the forearm symbol as well as the blade.
- Return to the central engraved standing stone and copy the uriashi glyph. Read the hourglass confirmation before accepting its time cost, then check the journal and manual acquisition prompt.
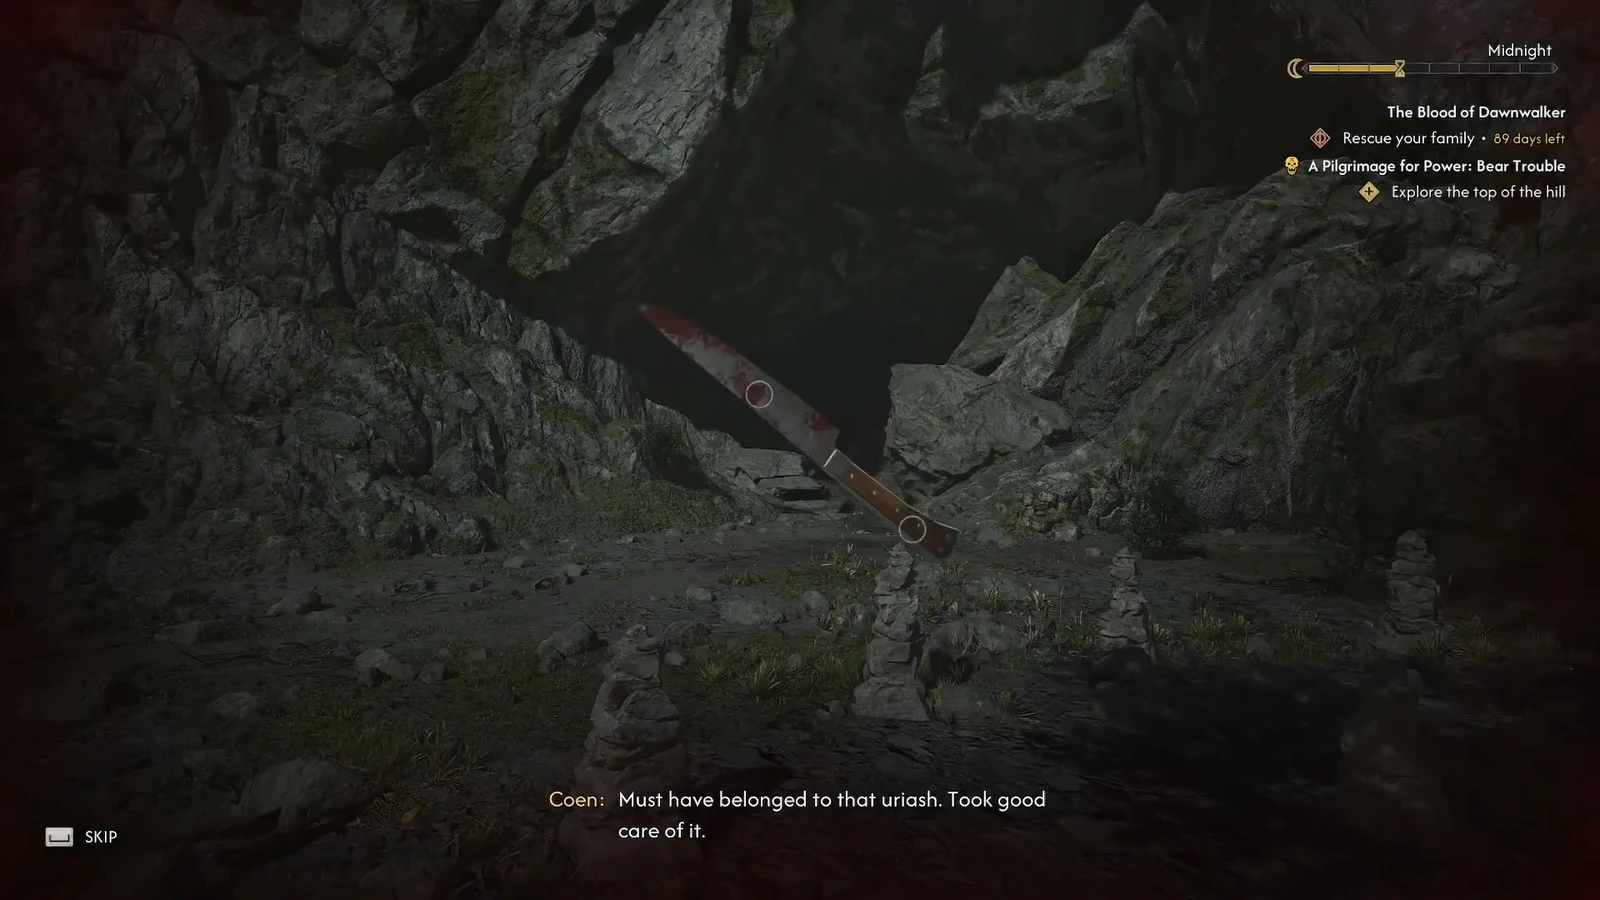
If the journal still says “Explore the top of the hill,” recheck the forearm, knife, and central glyph. If it has reached “Inspect the uriashi glyph,” return to the engraved stone. This is a recommended checking order, not a proven mandatory sequence: AllThings.How says any order works, while PowerPyx places the body and knife before the glyph. Whether every ordering advances correctly remains unverified.
What to check after the glyph
- After the glyph is copied, find the resulting scroll or Ravenous Flock Manual in your inventory and read it. A manual makes its matching node eligible; it does not automatically learn the ability.
- Open the Witchcraft tree and check the Ravenous Flock node for remaining conditions. Skill points, time, and other prerequisites must match what the node itself shows.
- The glyph investigation has a verified time cost, while the climb and bear fight do not use that same confirmation. Decide before accepting the glyph prompt, then verify the journal update and the manual in inventory.
If the node remains unavailable after reading the manual, use the Ravenous Flock manual and skill-tree checklist before repeating Bear Trouble or treating ordinary skill points as a manual requirement.
If you are stuck below the final ledge, return to the last chime or yellow-cloth cairn and use Focus to find the climbable edge; do not climb blindly upward. At night, use any currently available movement ability to cover the last gap; by day, work around to a climbable edge. If your goal is Ravenous Flock, finish by reading the manual and checking the Witchcraft tree rather than treating the copied glyph as a learned skill.
New source cross-check: the bell target and four body prompts
ATH's updated combined route adds two concrete checks that are easy to miss on the climb and summit:
- When a hanging bell blocks the uphill route, shoot the bell target with a projectile. Continue only after it rings and the next chimes become audible.
- At the abandoned camp, use Focus to follow both the human footprints and bear tracks into the summit clearing.
- On the mauled uriash body, complete all four separate prompts: the glass-and-bone beads, facial gashes, opened stomach, and forearm wound. The beads are reported to award a Quickcast Amulet.
- Inspect the bloody knife on its own small rock, then copy the glyph on the central standing stone. The manual comes from the glyph interaction, not the bear's loot.
If QUEST ENDED does not appear, sweep the corpse, knife, and glyph again in Focus. The updated source reports the glyph interaction consumes two time segments and awards the manual, one Skill Point, and 250 XP; confirm the values shown by your current build before planning around them.