For Dawnwalker Hidden and Safe, investigate Breslauer’s attic, follow its map lead to the cave east of the city, and inspect the altar’s items and letter. Recovering a heart and restoring its shrine are separate actions.
Start with the house lead
-
Inspect the damaged shrine and read its available correspondence. The documented route begins in the Svartrau Outskirts; follow the resulting objective to Breslauer’s house in Neustadt.
-
Look for the upper entrance of the Curious House. ATH describes reaching the attic from the roof rather than entering through the street door. The exact daytime climbing sequence remains unconfirmed.
-
Use Focus Mode in the attic and inspect the maps on the desk. Taking ordinary belongings from beside the bed does not replace this investigation. Check that the objective advances to locating the stash.
If the attic search will not advance
ATH's attic investigation article identifies the paper-covered desk as the progression interaction. Use Focus, approach that desk and let the inspection finish, then reopen Hidden & Safe in the journal and look for Find the stash. Wall icons and bedroom loot are separate interactions; locked attic doors are not the reported solution. Its claim that leaving always changes Midnight to Wee Hours is not independently verified, so do not use a particular clock display as your completion check.
Starting from Pilgrim’s Bridge
If your search began at this shrine, inspect its interior and take the letter before looking for a trail. ATH describes a house lead here, not a footprint pursuit. Check for the Breslauer objective and continue to the upper entrance described above.
The dedicated bridge article calls the stash a waterfall cave, whereas the compared Hidden & Safe route describes a vine-screened opening east of the city. That entrance description remains disputed; follow the actual stash objective rather than diverting to the unrelated Arbiter’s Medallion waterfall. After recovery, check each heart’s name and restore its matching shrine separately.
Return route for Pilgrim’s Bridge
ATH's restoration guide places this shrine southeast of Woodcutter's Camp and east of Murohn's Lair. After taking its named heart from the stash, track Pilgrim’s Bridge again. From the Maragir Wealds side, cross the bridge toward the grove and follow the shrine marker across the rocky ground. At the shrine, hold the displayed interaction to place the heart; the article reports F on PC. Check the completion message and usable map marker before leaving. Exact coordinates remain unverified.
Enter the concealed cave
Follow the stash marker east of Svartrau City toward the cliffs at Svartrau Grove. Look for an opening screened by vines, then follow the passage to the altar. Inspect its quest items and the small container rather than leaving after the first pickup.
The two ATH articles disagree about the exact number of hearts present. Check the names actually added to your inventory; do not declare the search failed solely because a published total differs.
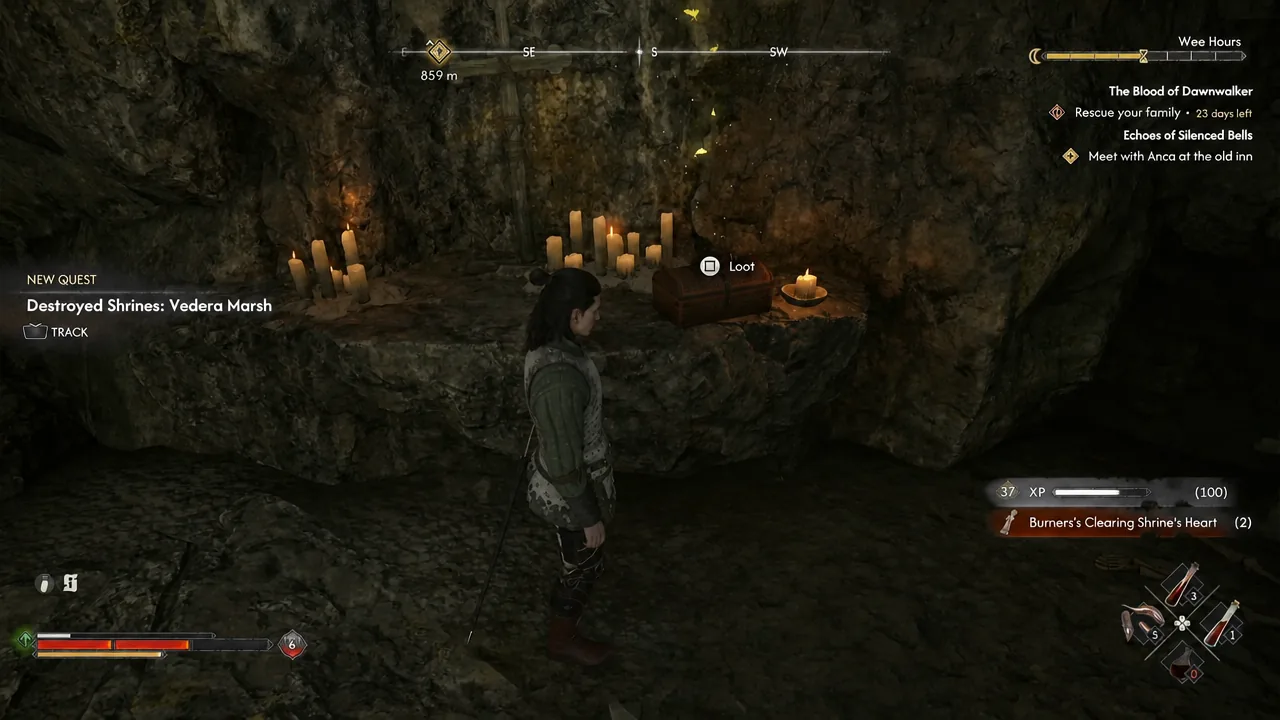
Read the recovered letter
The inventory image below identifies the document as Last Request. It is not proof of the name of the earlier starting letter, nor does it show a complete list of hearts.
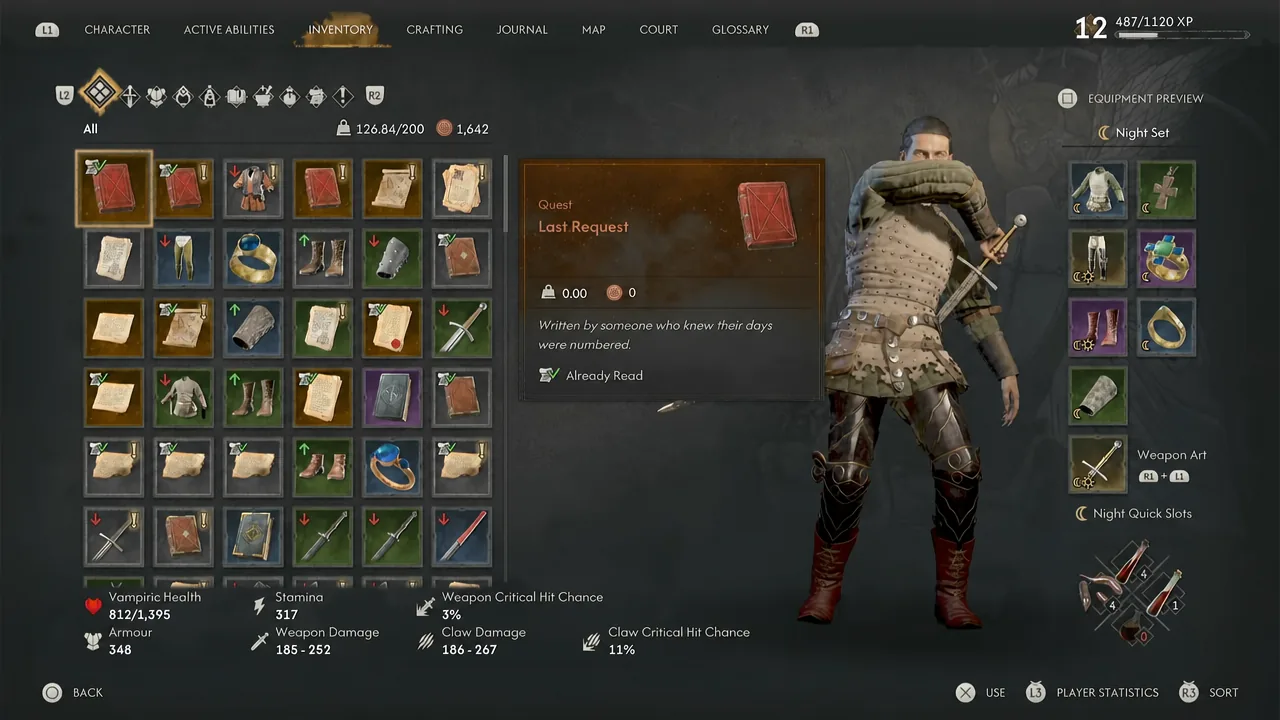
Return each heart to its shrine
Track the restoration objective associated with each recovered heart, return to its matching shrine and complete the interaction. The journal database’s successful outcome describes restored shrines, so collecting the cave loot alone should not be described as restoring every travel point.
Gamer Guides lists one time segment for this entry, while ATH discusses costs for individual restorations. Check each interaction’s displayed cost; a verified total for the entire route remains unconfirmed.
If progress stops
An attic search still active calls for another desk investigation. A missing-hearts objective calls for checking the altar and container. A restoration objective calls for returning to the shrine, rather than repeatedly looting the cave.
Continue: Enshrined Obsession: balcony entry and desk investigation
Enshrined Obsession: balcony entry and desk investigation