Help Volk across his return visits, follow Pieter's childhood trail from Parlita, then investigate the prayer book found with the treasure. Buried Past continues after opening the chest; return to Volk after the monastery conversation.
Secret spot found, but investigation will not advance?
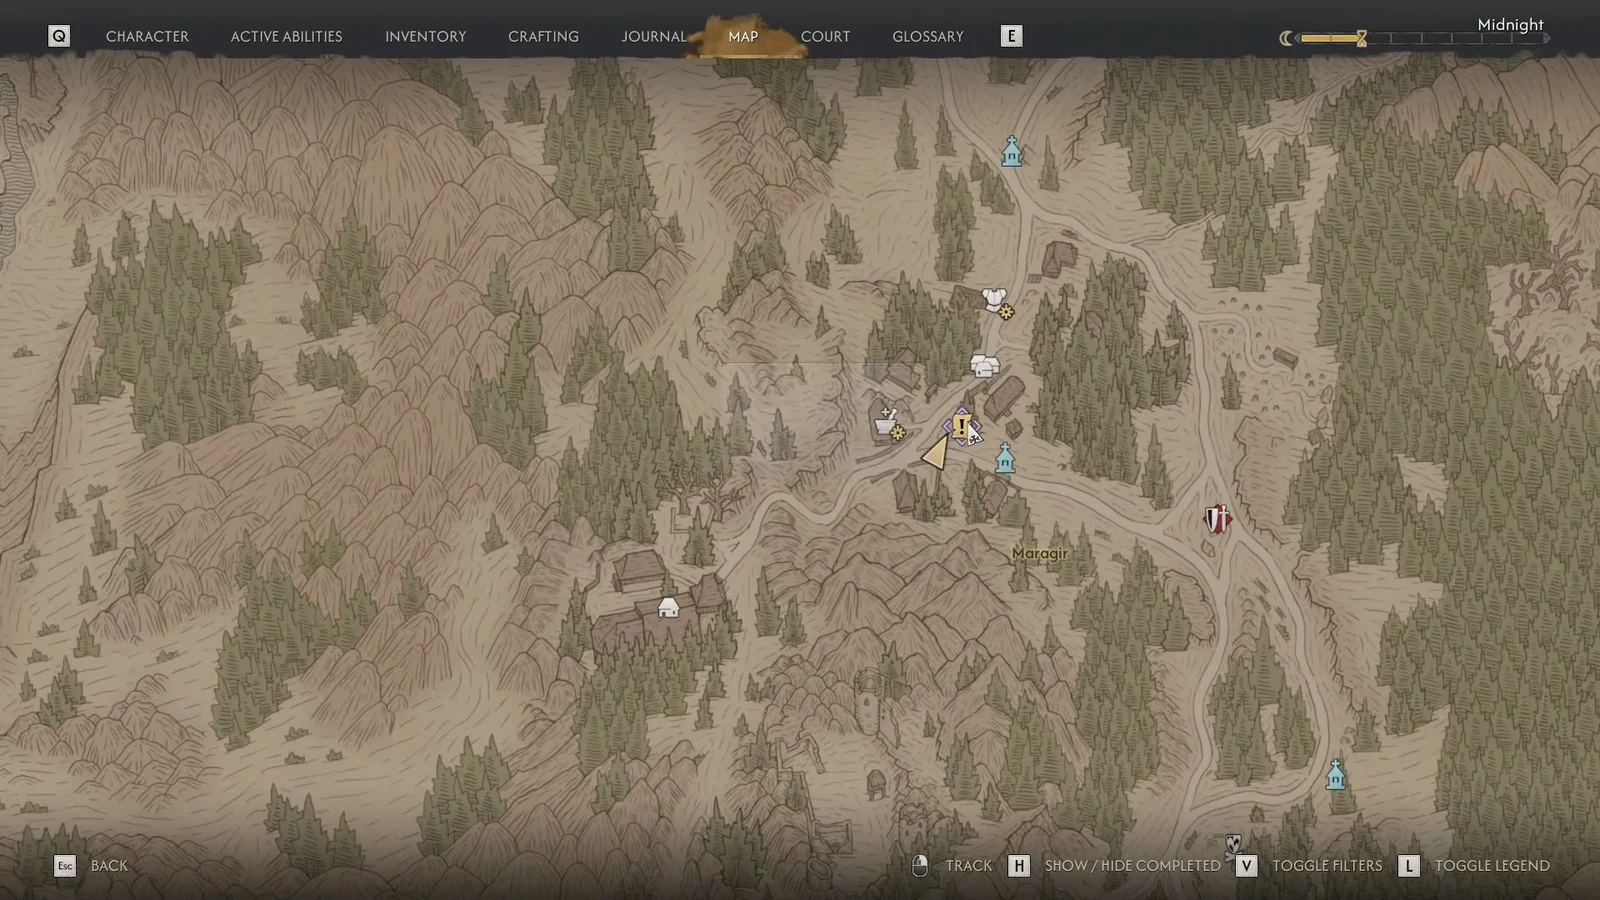
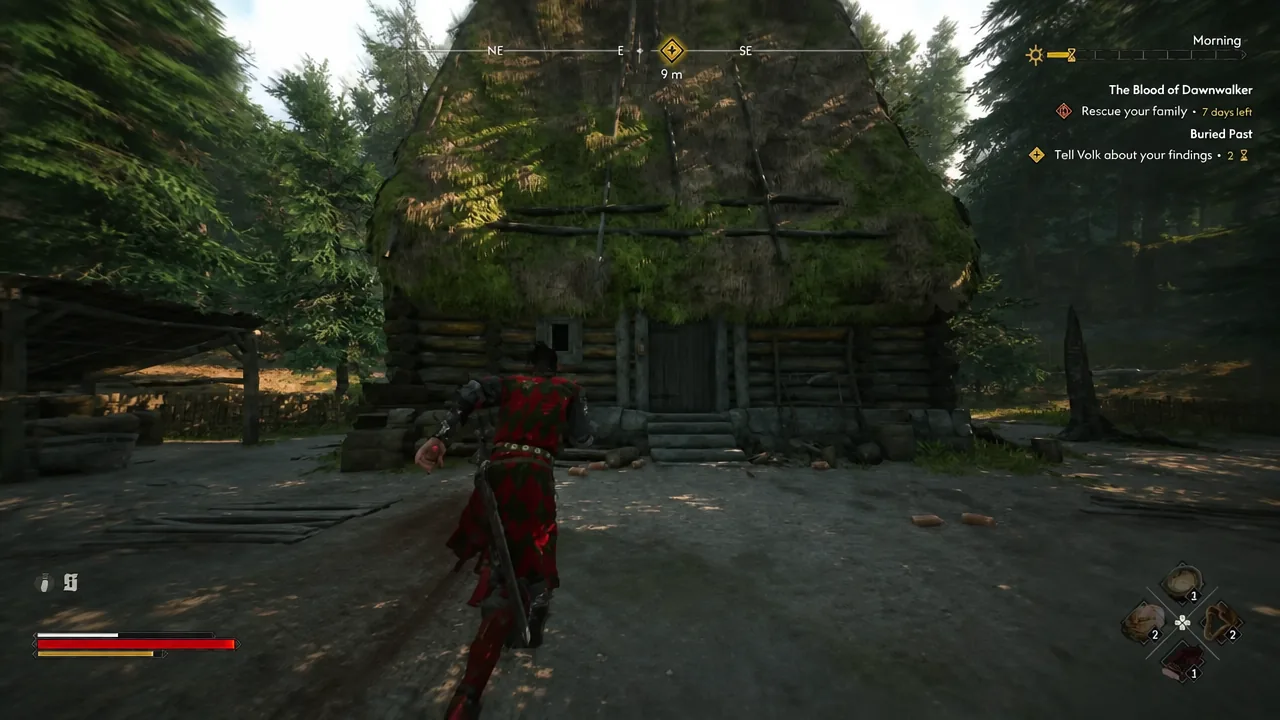
ATH locates Ruined Hut west of St. Tyna's Grove and south of Pilgrim's Bridge. Check the yard clues, then step through the doorway: remaining outside at the snares or shrine does not trigger the reported Volk encounter. After the confrontation, explain that you are Pieter's son and that he was captured. The exact map position and alternate dialogue outcomes are not firsthand-verified here.
Meet Volk and complete his requests
- Speak to Maragir's merchant after the prologue. Ask about Pieter's order and follow the lead to Ruined Hut in St. Tyna's Grove, east of Svartrau. Purchase prices differ between sources; check the transaction.
- Inspect the yard and nearby shed. Investigate the snares and cut-marked stump, then resolve Volk's fistfight and explain who you are.
- Ask about additional help. Chop and deliver wood; inspect tracks at the broken fence, follow them to the wolves, clear the den and report back.
- Return after a full day with Slivovitz. Ask about his injury, read the ointment recipe, collect feverfew at the riverbank and prepare it. Use the waiting interval for other tasks rather than assuming the next morning is sufficient.
- On the next visit, inspect the vomit outside. Ask about the lost knife and other help. Retrieve the knife from the roof at night using the traversal ability, return it, and board the bedroom window from behind the house.
- Win the sword spar and accept the treasure search. The lesson awards the Artery Strike Manual. Complete optional requests before advancing the final visits.
Follow the memories to the chest
- At Parlita, inspect the broken stand near the entrance, then approach the well. Follow the road south to The Wallows, turn west into the woods and follow the large stones.
- Search the old campsite with Focus. Inspect the stone ring at a tree's base and dig. Take Pieter's Garb, the unfinished letter and the Prayer Book from Maragir; finding no gold is the intended discovery.
Parlita search area still active
From the wooden entrance gate, stay on the main path and inspect the stand on your right. The Parlita memory account identifies the bread-buying recollection as the first checkpoint: finish Coen’s comments and look for the childhood-memory objective with 1/3 progress. Then follow the well clue. Walking through the search circle is not the interaction; this position is source-reported, not checked firsthand.
Report and resolve the ending
- Visit Maragir Monastery during the day. Show the recovered evidence to the monk outside, then report what happened to the money to Volk.
- Allow another full day and return. On the supportive route, inspect the bodies, sword and note. If soldiers ambush you, defeat them before deciding whether to fight Volk or leave.
Avoid misleading shortcuts
Doing Volk's optional tasks affects his final response. Waiting until a particular night is not established as the sole ending switch. A stalled return visit calls for checking elapsed time and the current journal objective, not abandoning the quest.
Quoted costs differ for wood, the knife and the final report. Use the game's displayed charge; this guide does not promise a fixed total or a guaranteed free wolf-clear shortcut. The chest and spar are separate reward checkpoints from the final hut scene.