Inspect the flour sack inside Vlad’s hut, speak to Renna at the mill, then reach Mert below Stoneward Post’s tower. Finish his conversation within four in-game days of receiving the Stoneward Post objective. Opening the prison access door is only an intermediate step.
Find the clue that actually advances the hut
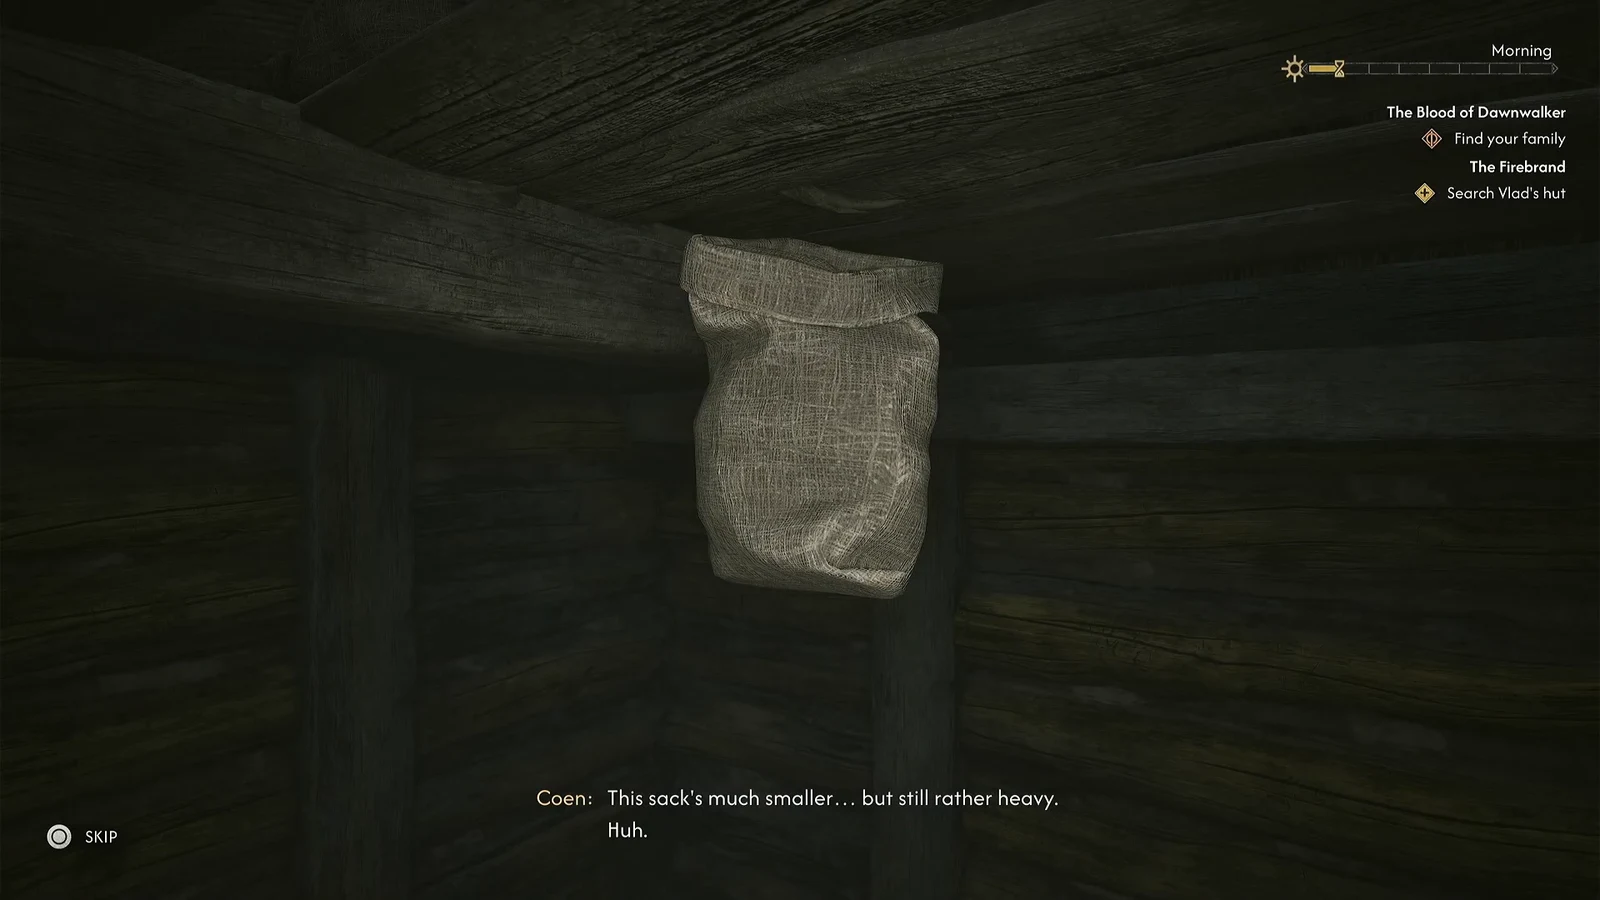
- After Smoke and Ashes, approach Vlad’s ruined hut and track The Firebrand. Enter, turn left and search the back room for the small flour sack against the wall.
- Open its investigation view, inspect the outside mark and rotate it to expose the silver heads hidden in the flour. Picking up food or the half-burnt letters alone does not replace this investigation. Check that the objective now sends you to the mill.
Speak to Renna and start the deadline
- At the mill in daylight, play along with Renna’s broken-cart story so she can explain Mert’s arrest. Refusing her story can bring the soldiers outside. At night, a nonviolent response can instead send you back during daylight; follow the resulting objective.
- Once directed to Stoneward Post, prioritize reaching and speaking to Mert. The sources agree on a four-day deadline from that objective, not from first entering Vlad’s hut. Check time-cost prompts before resting or taking unrelated objectives; this is not a real-time stopwatch.
One ATH account says leaving the mill soldiers alive guarantees Renna’s later death. That outcome is not independently established by the checked walkthrough, so it remains unconfirmed rather than a reason to promise that one choice saves everyone.
Enter Stoneward Post with your weapons
- Follow the post marker southwest from the mill and approach the front gate during daylight. Choose the enlistment approach, then object that a soldier needs a weapon. This preserves your equipment; the prisoner-visit and message-delivery approaches require surrendering it.
- Pass through the inner gates and continue uphill to the rear stone tower. Avoid starting unrelated fights if keeping this visit peaceful. At night the gate guards attack, so do not expect the same conversation route.
Night approach: reach the rear tower
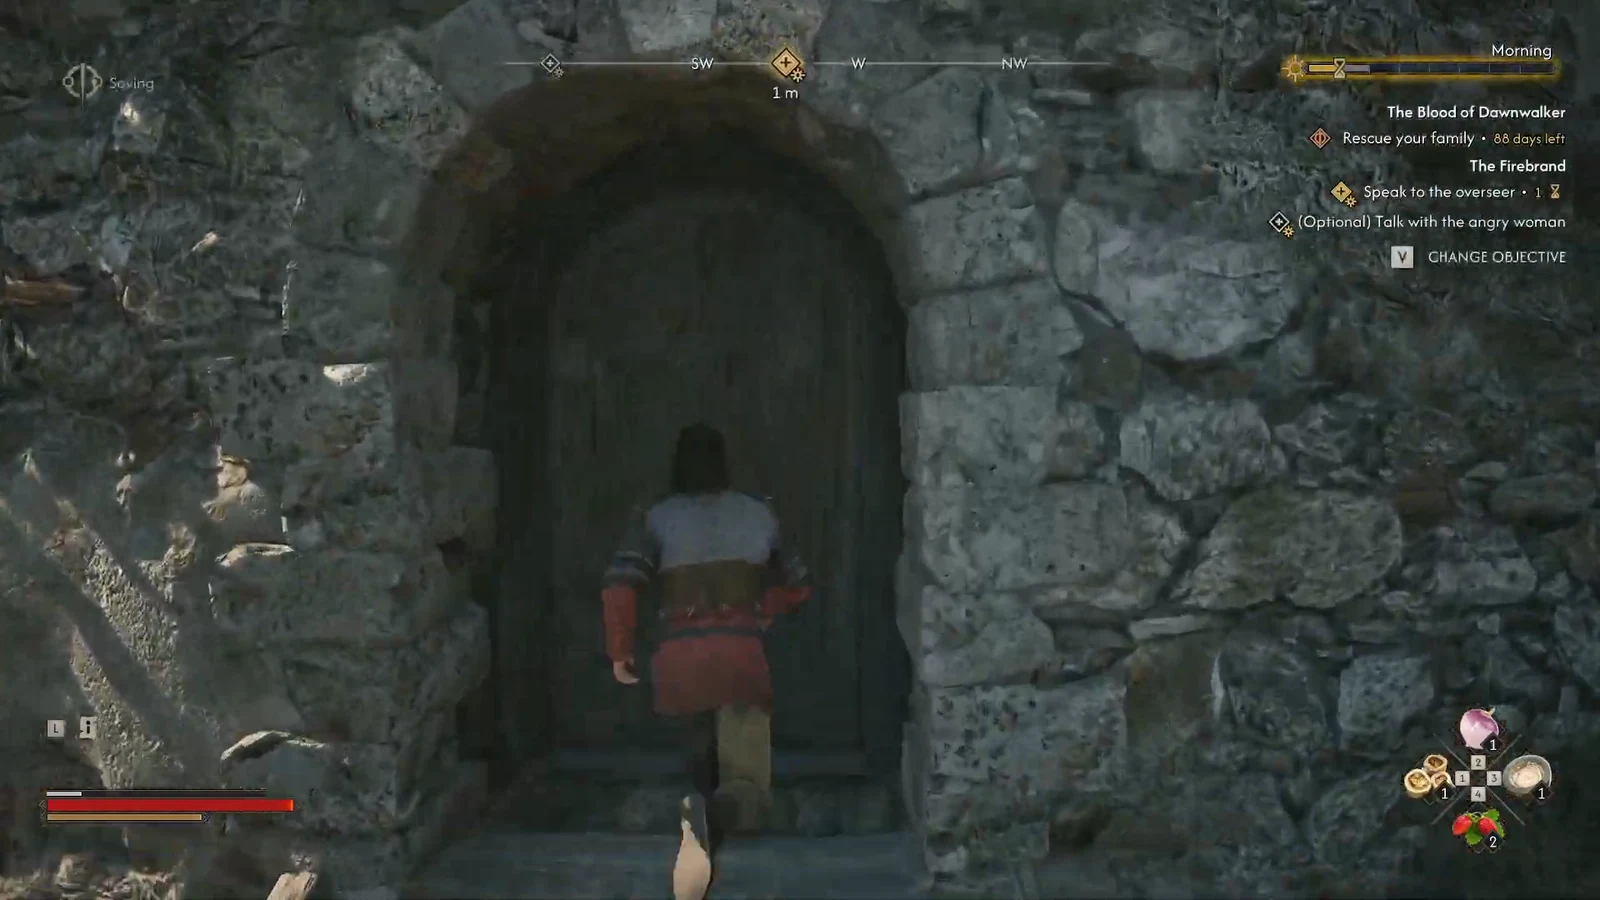
ATH describes circling the outside palisade to the rear tower, using Shadowstep to reach the wall, then dropping beside the tower door. Prepare for combat inside and downstairs; nearby soldiers may join. After clearing the dungeon threat, speak through Mert’s cell door. This is an alternative approach to the conversation, not a completed rescue: taking him out still needs the key and escort steps.
Taking Back What’s Mine: recover surrendered weapons
If you surrendered your weapons at entry and then entered combat inside Stoneward Post, check for this recovery objective. Keeping your weapons through the enlistment dialogue means this branch need not appear.
- Return to the main gate and find the ladder on its north side.
- Climb to the room above the gate and search its chest.
- Retrieve the weapons and check your equipment before resuming the rescue.
PowerPyx’s introductory wording suggests the task begins at surrender, but its detailed trigger also requires combat. Do not start an unnecessary fight solely to make a journal entry appear.
Choose one way past Friedo
- For the stolen-goods route, speak to the angry woman outside the tower, return to Yenno in the entrance yard and ask about prisoner property. Escalate by saying you will involve the commander, then confront Friedo with the arrangement Yenno reveals. Avoid substituting an unrelated threat.
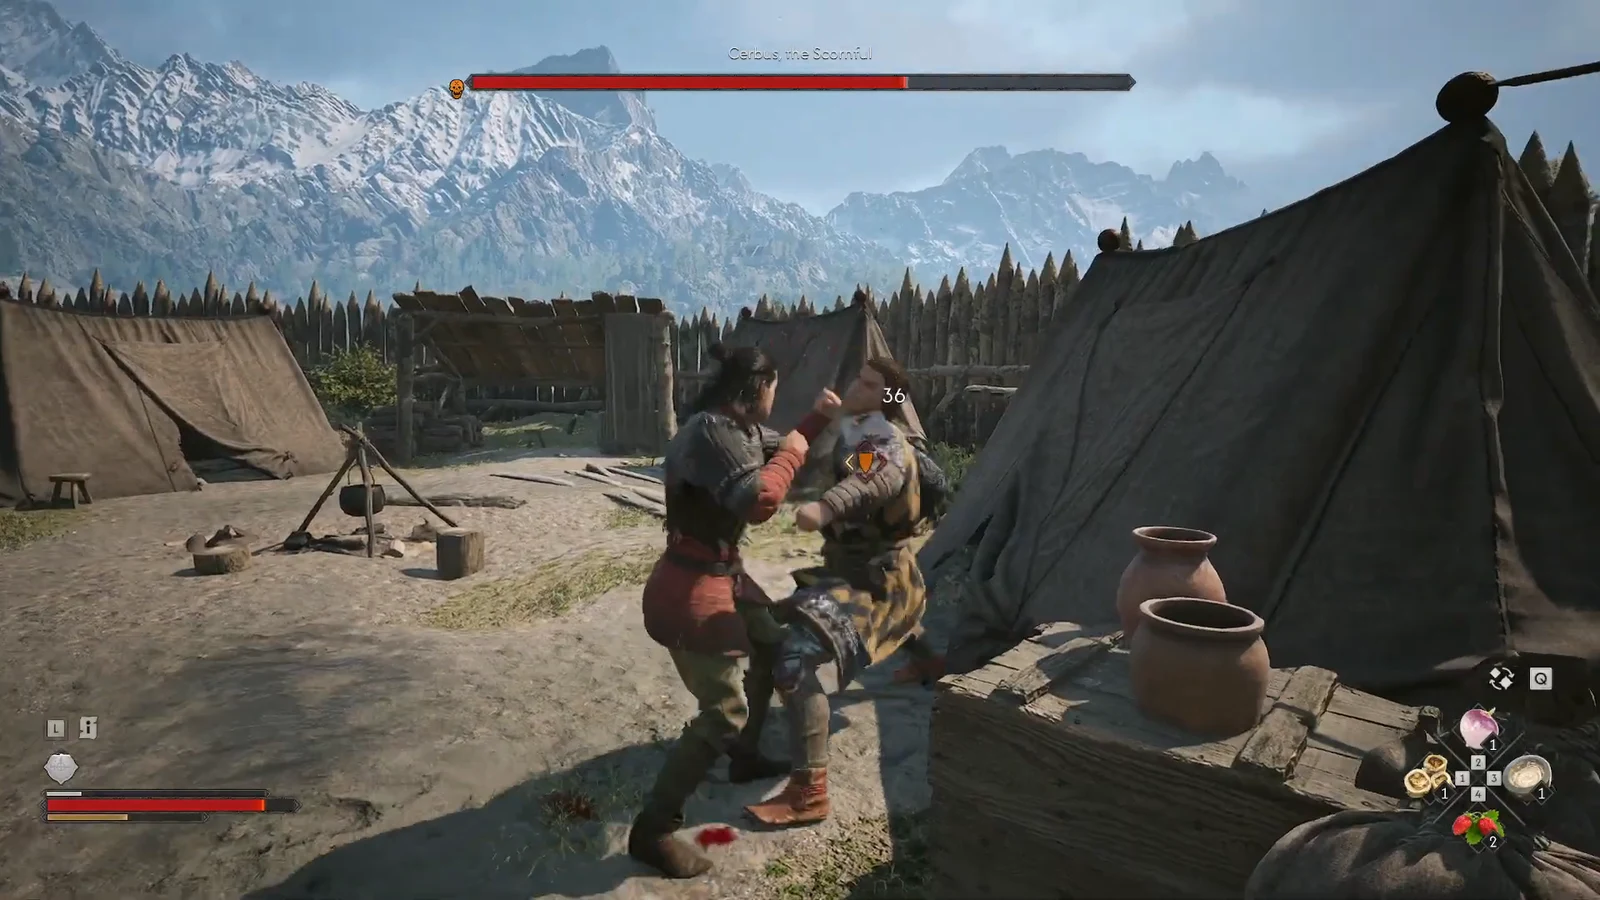
- Alternatively, ask Friedo for a favor instead of payment. Leave toward the training ground through the wooden gates, find Cerbus and use the debt-related challenge to start the fistfight. Win, let the concluding dialogue play, then return to Friedo; winning alone does not open the prison access door.
- A bribe is another route. Check the displayed price: the sources disagree between 100 and 300 Denarius. You need only one resolved route, not all three. Confirm the objective changes to speaking with the miller before going downstairs.
Finish the conversation before planning the breakout
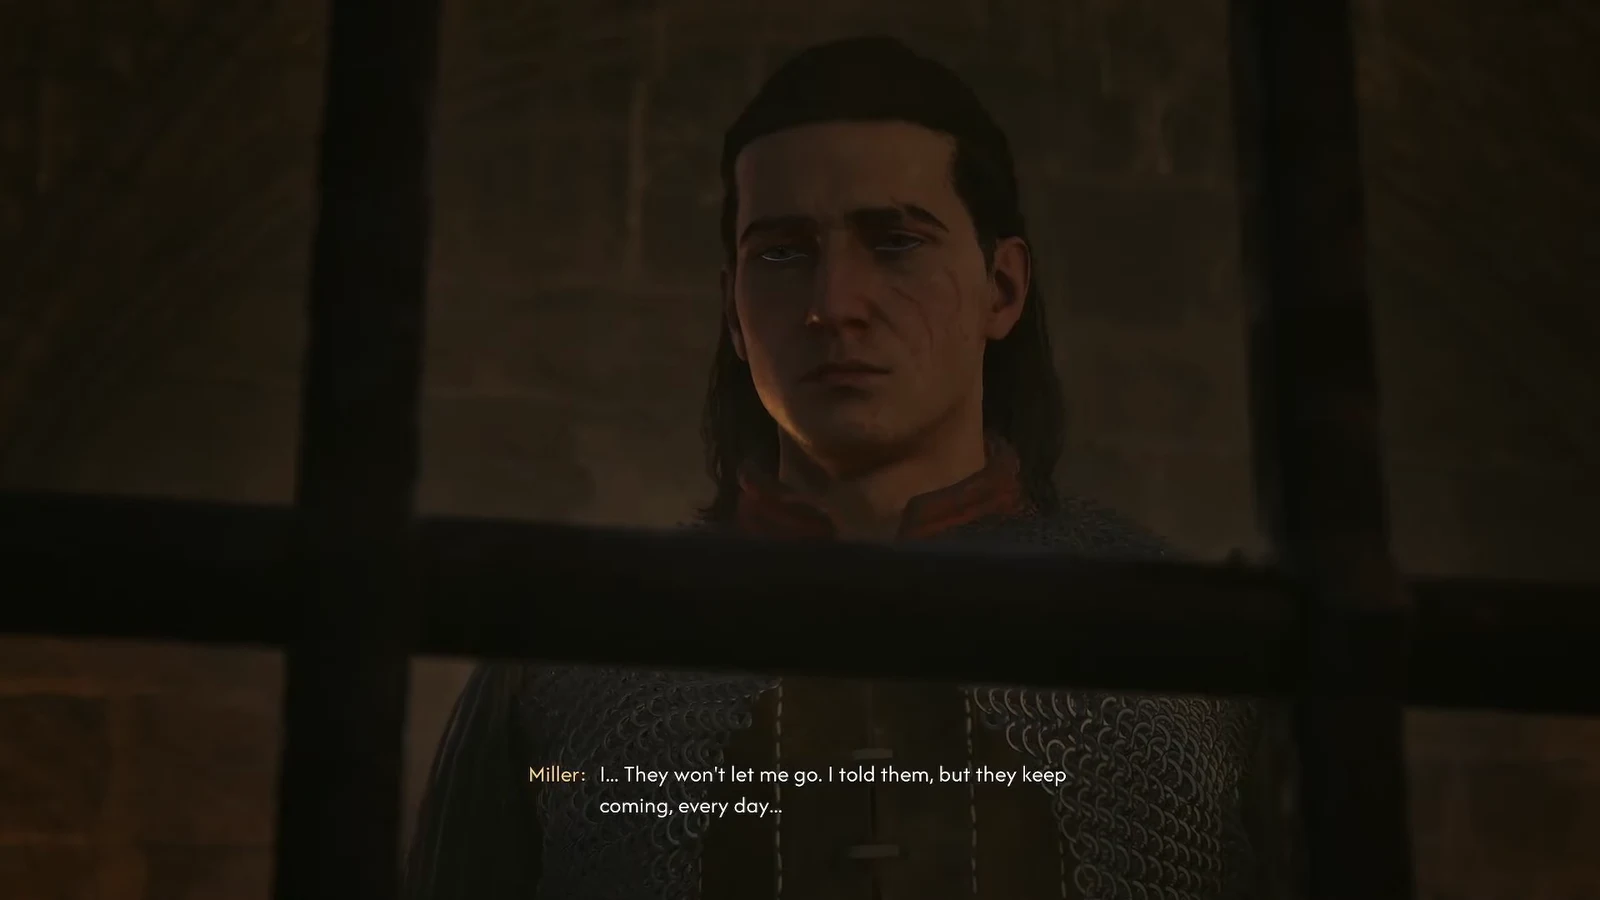
- Descend from Friedo’s room to the cells and interact with Mert through the bars. When the guard interrupts, say the prisoner is about to be sick. This is the consistently documented peaceful way to continue and costs two time segments.
- Complete the conversation through the final choice. Promising to return closes The Firebrand and leads to Shadows in the Woods; attempting an immediate breakout leads into Under Watchful Eyes. Speaking to Mert and physically freeing him are separate stages.
Sources disagree on whether whispering immediately starts combat or only angers the guard. The sickness response avoids relying on that disputed branch. Check the journal after the final dialogue rather than assuming that entering the cell block is enough.
If Mert was executed
Death branch and the catalyst — spoilers
Find the body behind the tower. In the nearby tent, search the sack just inside the doorway on the right for Mert’s Wedding Ring. Use it as the Compel Soul catalyst; the Bloodied Pincers do not provide the needed information. Finish the questioning to recover the rendezvous lead, but this does not restore a living rescue outcome.
The subsequent manumit chain connects to Crake. Continue the breakout with Under Watchful Eyes; the next rendezvous remains a separate objective.
The rendezvous and Sara’s rescue
Shadows in the Woods covers the bridge, southeast search, rescue deadline and final camp conversation.